
Hi everyone. A very common requests to deploy Kasten in production Kubernetes environments, is the use of a Private Registry and deploying Kasten in AirGap mode. In this post I’ll explain the process and steps to push the Kasten images to a Private Registry using AWS Elastic Container Registry (ECR) and then how to install Kasten in an AWS EKS cluster using the images from the AWS ECR private registry.
Requirements
- An AWS EKS cluster already deployed with a supported Kubernetes version. For a real Air-Gap scenario, this should be a private EKS Cluster, without outbound internet access.
- A private AWS ECR registry to keep the K10 images. In every AWS account, there is a default ECR private registry. The URL for your default private registry is
https://aws_account_id.dkr.ecr.us-west-2.amazonaws.com. - AWS user account and proper privileges to access the ECR Private Registry.
- A Linux or Windows machine with Internet Access and access to AWS ECR. This machine must have AWS CLI and Docker client installed.
Push Kasten Images to AWS ECR
In order to push the Kasten Images to AWS ECR, follow the following steps (more information in the official Kasten documentation):
- Authenticate with the AWS ECR Private Registry using an authorization token (For more information about authentication options, check the AWS ECR documentation). The following command updates your Docker configuration so then you can connect with Elastic Container Registry in your AWS Account to push and pull images.
- Before pushing the Kasten images to the ECR private Registry, you need to create an AWS ECR repository for every image you are going to push.
- To get a list of Kasten images to be pulled/pushed run the following command:Copy to Clipboard
- Then create the AWS ECR repositories with the following commands:
- To get a list of Kasten images to be pulled/pushed run the following command:
- The next step is pull the Kasten K10 images locally. The following command will execute the
k10offlinetool and use docker-in-docker (via docker.sock) to download all K10 images into the local machine’s registry.
- Finally, we push the Kasten K10 images to the AWS ECR private registry. The following command will pull all K10 images into your local repository, re-tag them for a repository located in AWS and push them to this specified registry.
Installing Kasten K10 in AirGap mode
Once we already have the Kasten K10 images pushed to the required private Registry, we can proceed with the Kasten K10 installation in AirGap mode. For this example, we will deploy Kasten K10 using Basic authentication. For more authentication options, please refer to Kasten documentation.
Pre-requisites
- Add the Kasten Helm charts repository
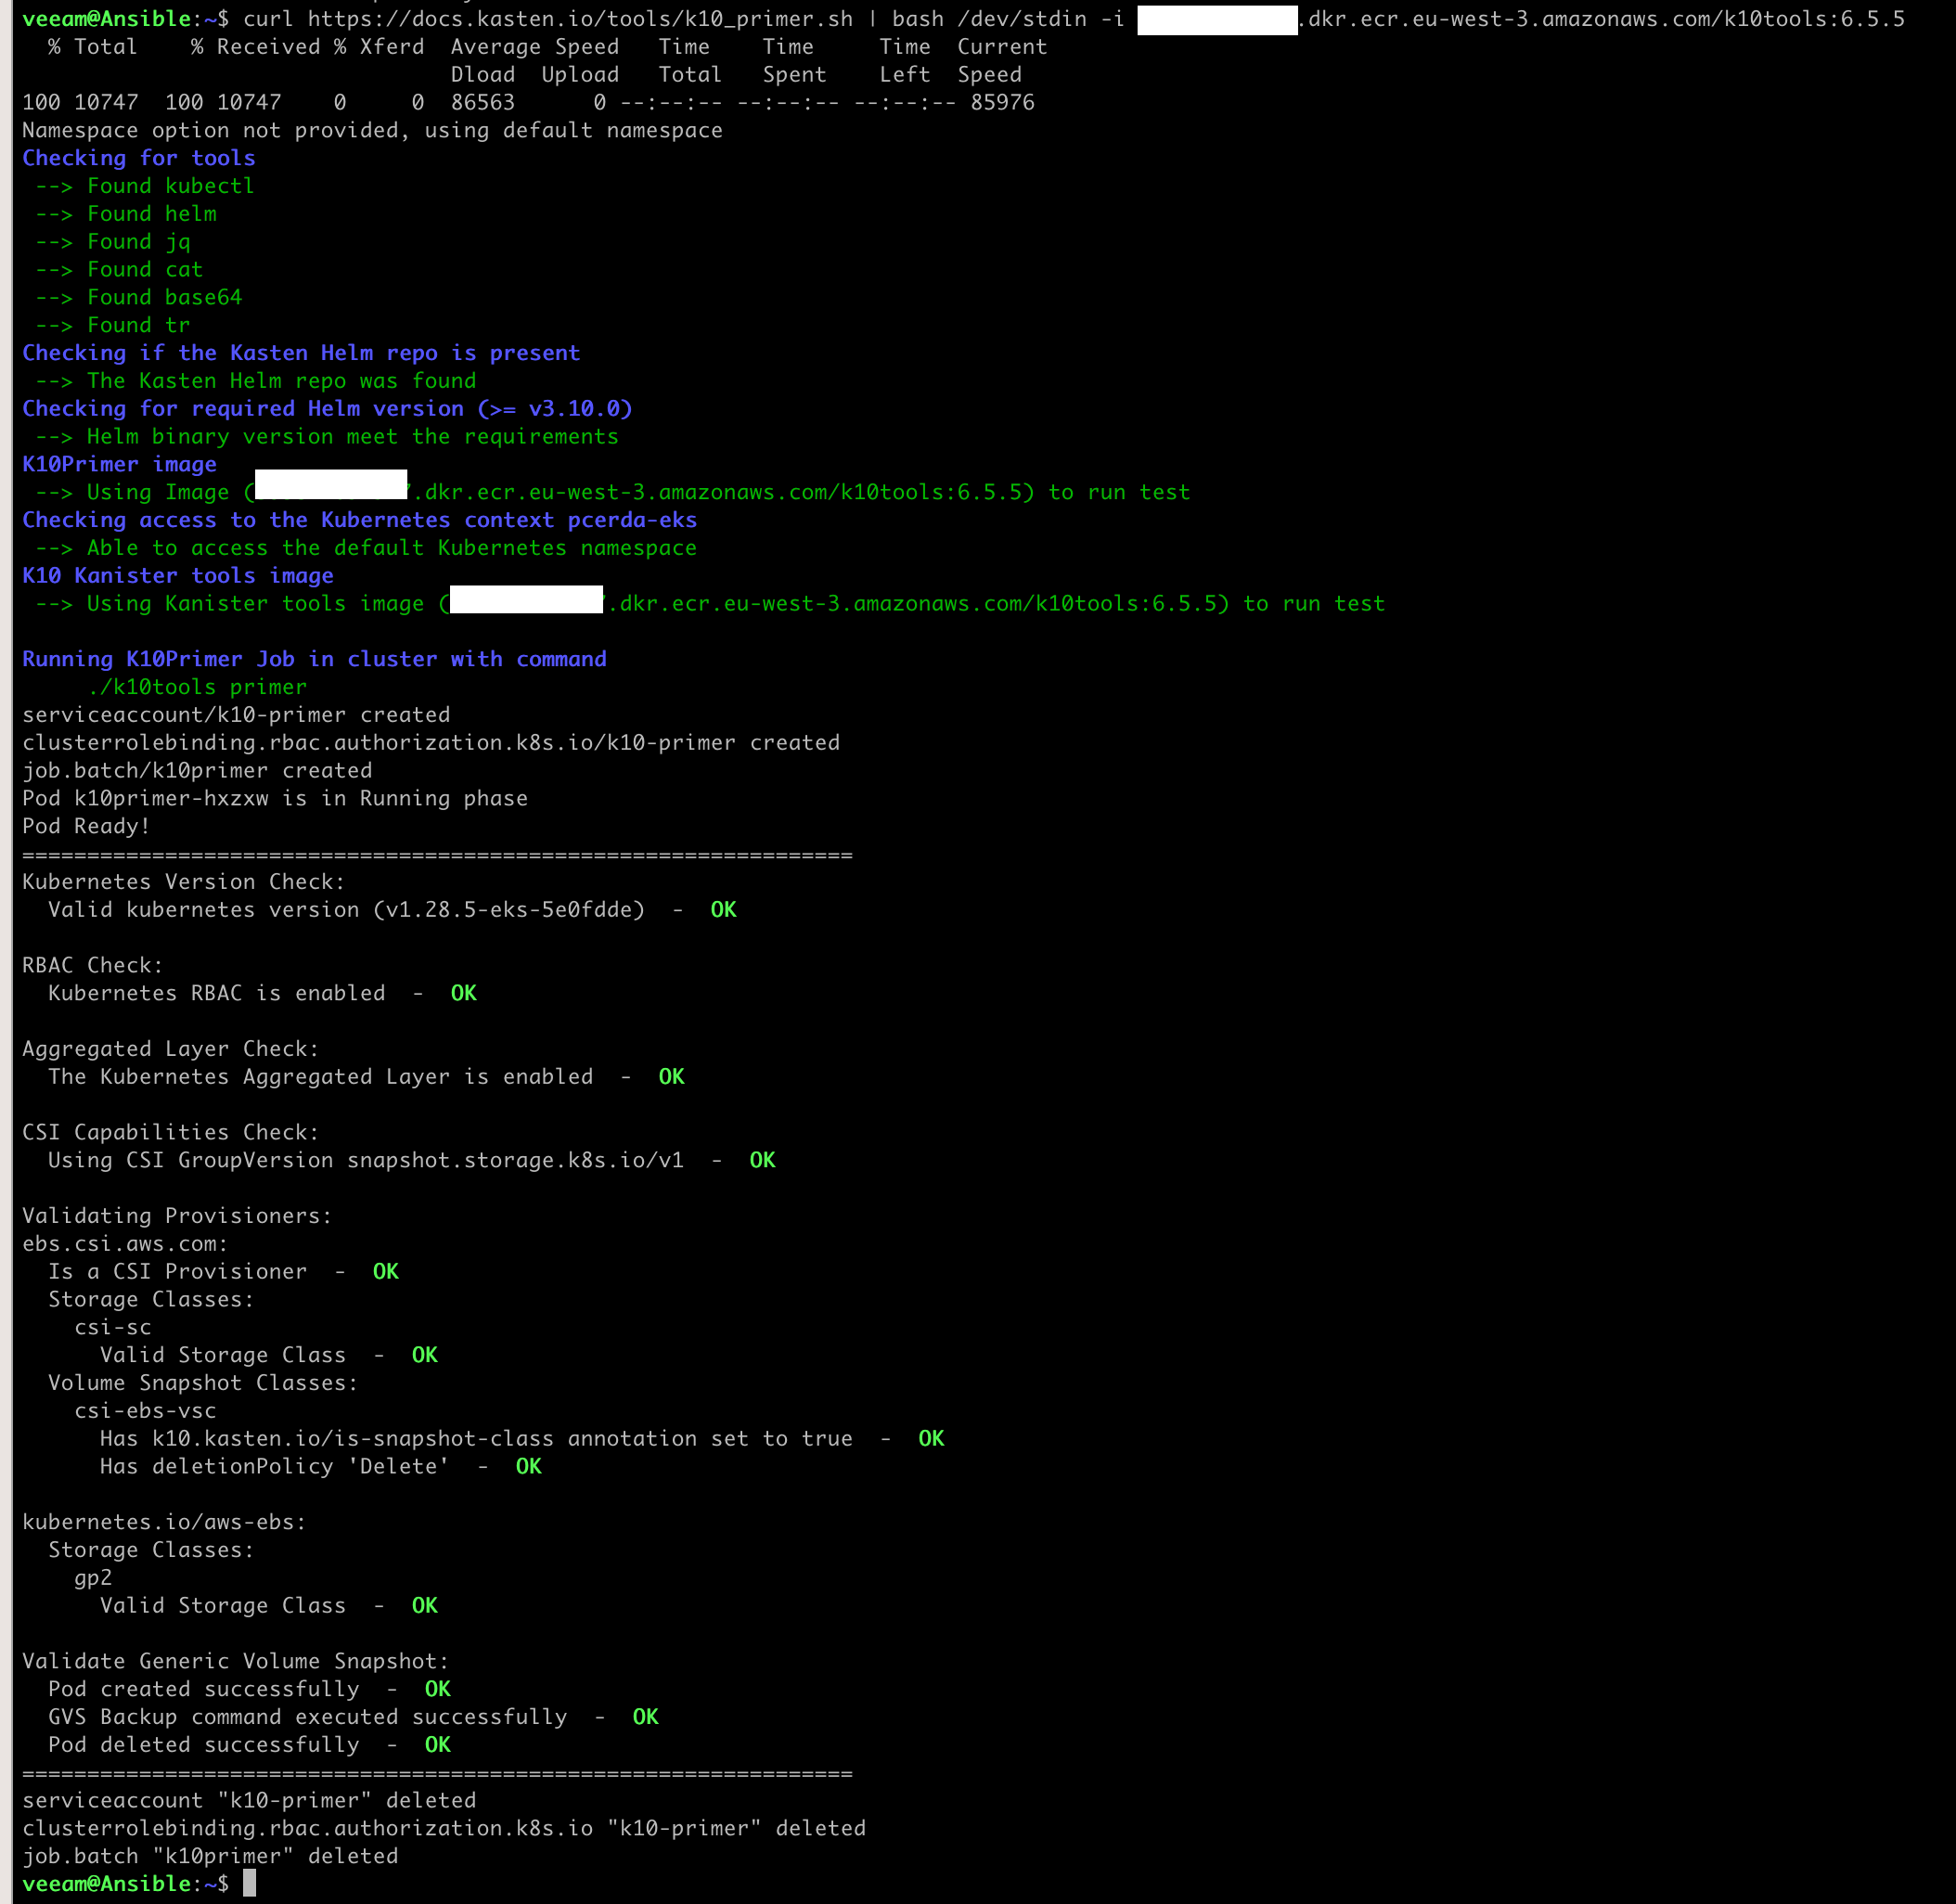
- Run the pre-flight Checks. As we want to install Kasten in AirGap mode using a Private Registry, the pre-flight check should be run using the following command (don’t forget to authenticate against the private registry first):
- Create a namespace for Kasten
- Generate htpasswd credentials (required for basic authentication) by either using an online tool or via the htpasswd.
- Set environment variables to provide the AWS Access Key and AWS Secret Access Key. To know the minumum permissions required for the AWS keys used to install Kasten, please check the Kasten documentation:
Kasten Installation
Now that we have the Kasten images in the AWS ECR private registry, and that we’ve already completed the pre-requisites, we can install Kasten with the following Helm command:

This Helm command includes the following parameters:
- set global.airgapped.repository=12345678910.dkr.ecr.eu-west-3.amazonaws.com
- This parameter allows to provide the URL for the private container registry, in this case an AWS ECR private registry. This parameter alone doesn’t enable the Air-Gap mode in Kasten, but just allows us to provide the URL for a private container registry instead of using the default registry used to install Kasten. It means that we can use this Private Container Registry and still have an AWS EKS cluster with internet access.
- set secrets.dockerConfig=$(base64 -w 0 < ${HOME}/.docker/config.json)
- If the Container Registry that has been provided with the
global.airgapped.repositoryparameter is private, credentials for that repository can be provided usingsecrets.dockerConfigandglobal.imagePullSecretflags. This parameter basically provides access to the docker config.json file, which contains the required credentials to access the Private Container Registry (Check the Push Kasten Images to AWS ECR section)
- If the Container Registry that has been provided with the
- set global.imagePullSecret=”k10-ecr”
- The Helm chart by default will create a secret with the name
k10-ecrwith the value that has been provided forsecrets.dockerConfig. For this secret to be used when Helm is pulling the images from the Private Container Registry to install Kasten, we must include this parameter.
- The Helm chart by default will create a secret with the name
- set metering.mode=airgap
- This parameter allows to run K10 in a network without the ability to connect to the internet, enabling the Kasten Air-gapped mode.
- Important: If
metering.mode=airgapis not set in an offline cluster, some functionality will be disabled, including the license validation. We will get other multiple error messages too.
- set externalGateway.create=true
- This parameter enables the use of a Load Balancer to access the Kasten Dashboard.
- set auth.basicAuth.enabled=true
- This parameter enables the use of Basic Authentication.
- set auth.basicAuth.htpasswd=”${LOGIN}”
- This parameter provides the admin password to access Kasten dashboard. This was set previously in the pre-requisites section.
- set secrets.awsAccessKeyId=”${AWS_ACCESS_KEY_ID}”
- This parameter provides the AWS Access Key ID using environment variables.
- set secrets.awsSecretAccessKey=”${AWS_SECRET_ACCESS_KEY}”
- This parameter provides the AWS Secret Access Key using environment variables.
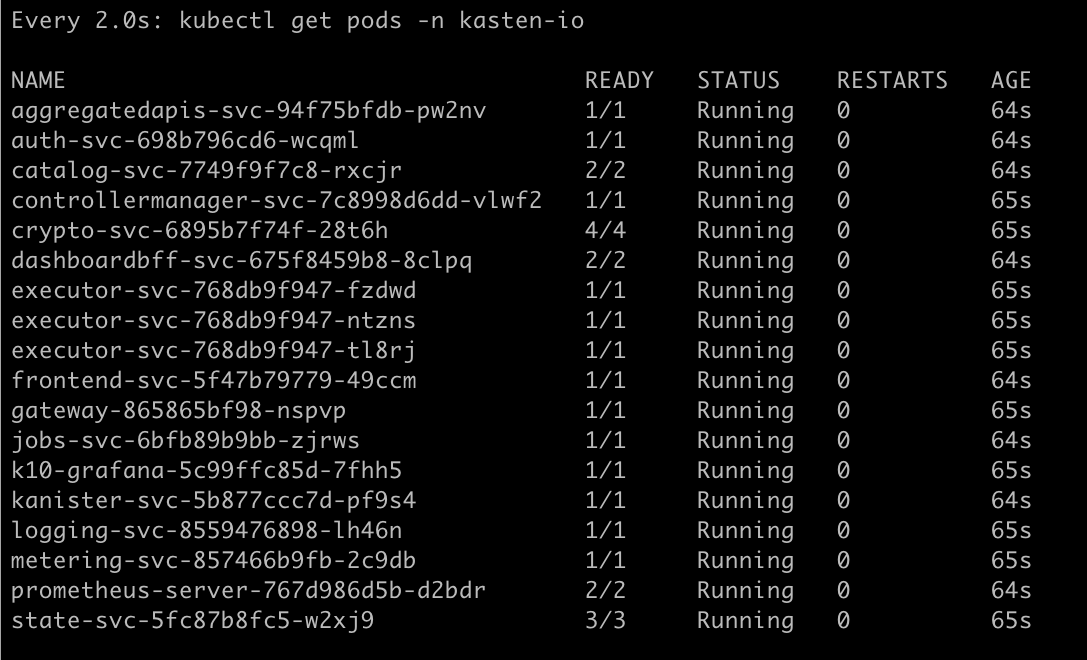
Now we can monitor the installation of Kasten, making sure all pods are up and running with the following command:
Once all pods are running, we can check the IP address of the Load Balancer created to provide access to Kasten dashboard.

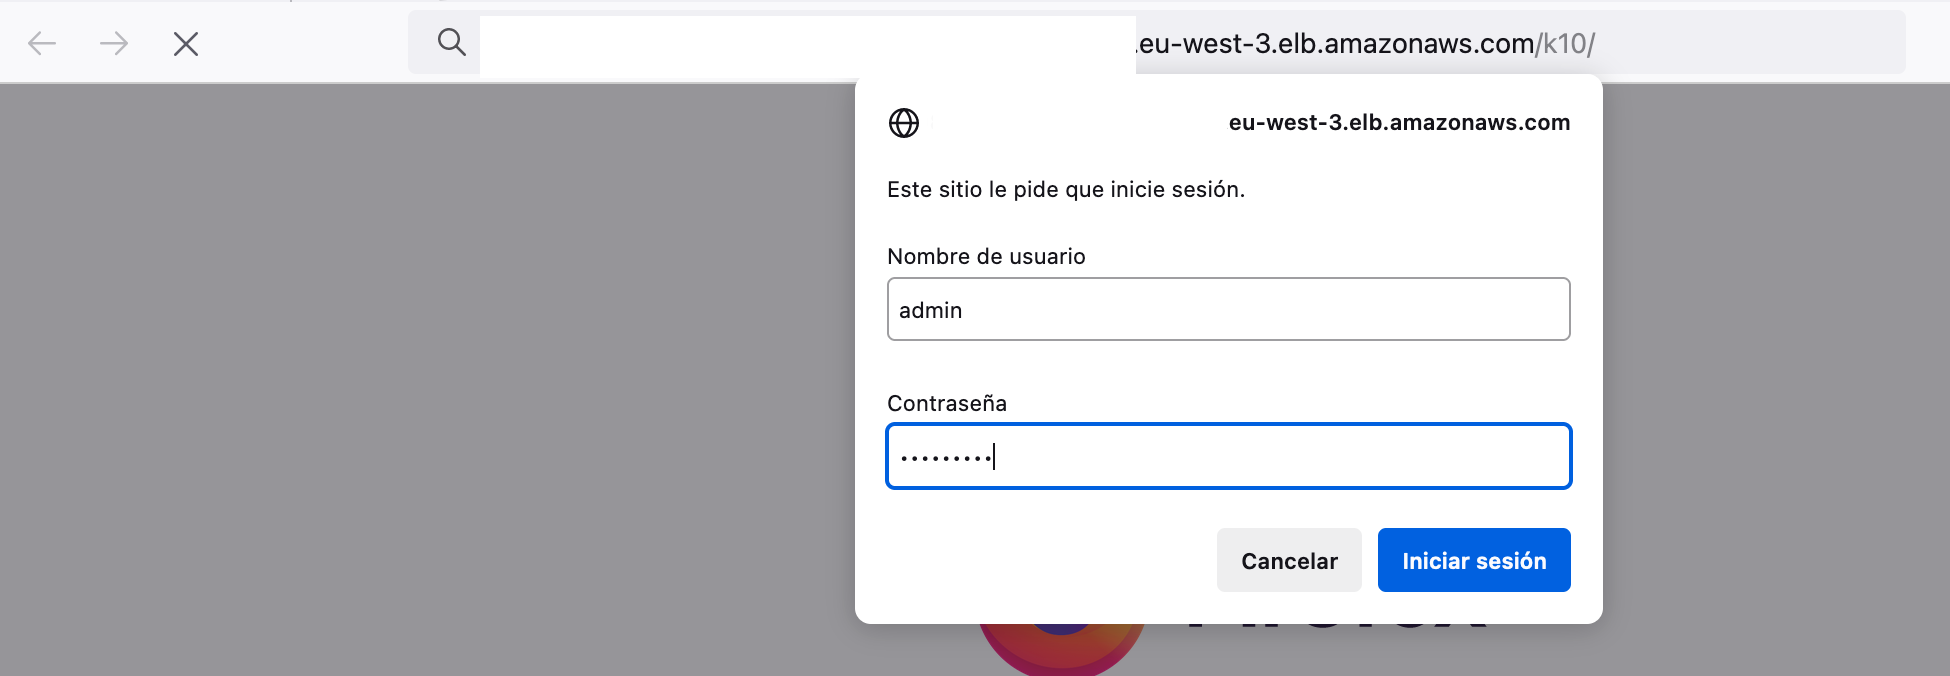
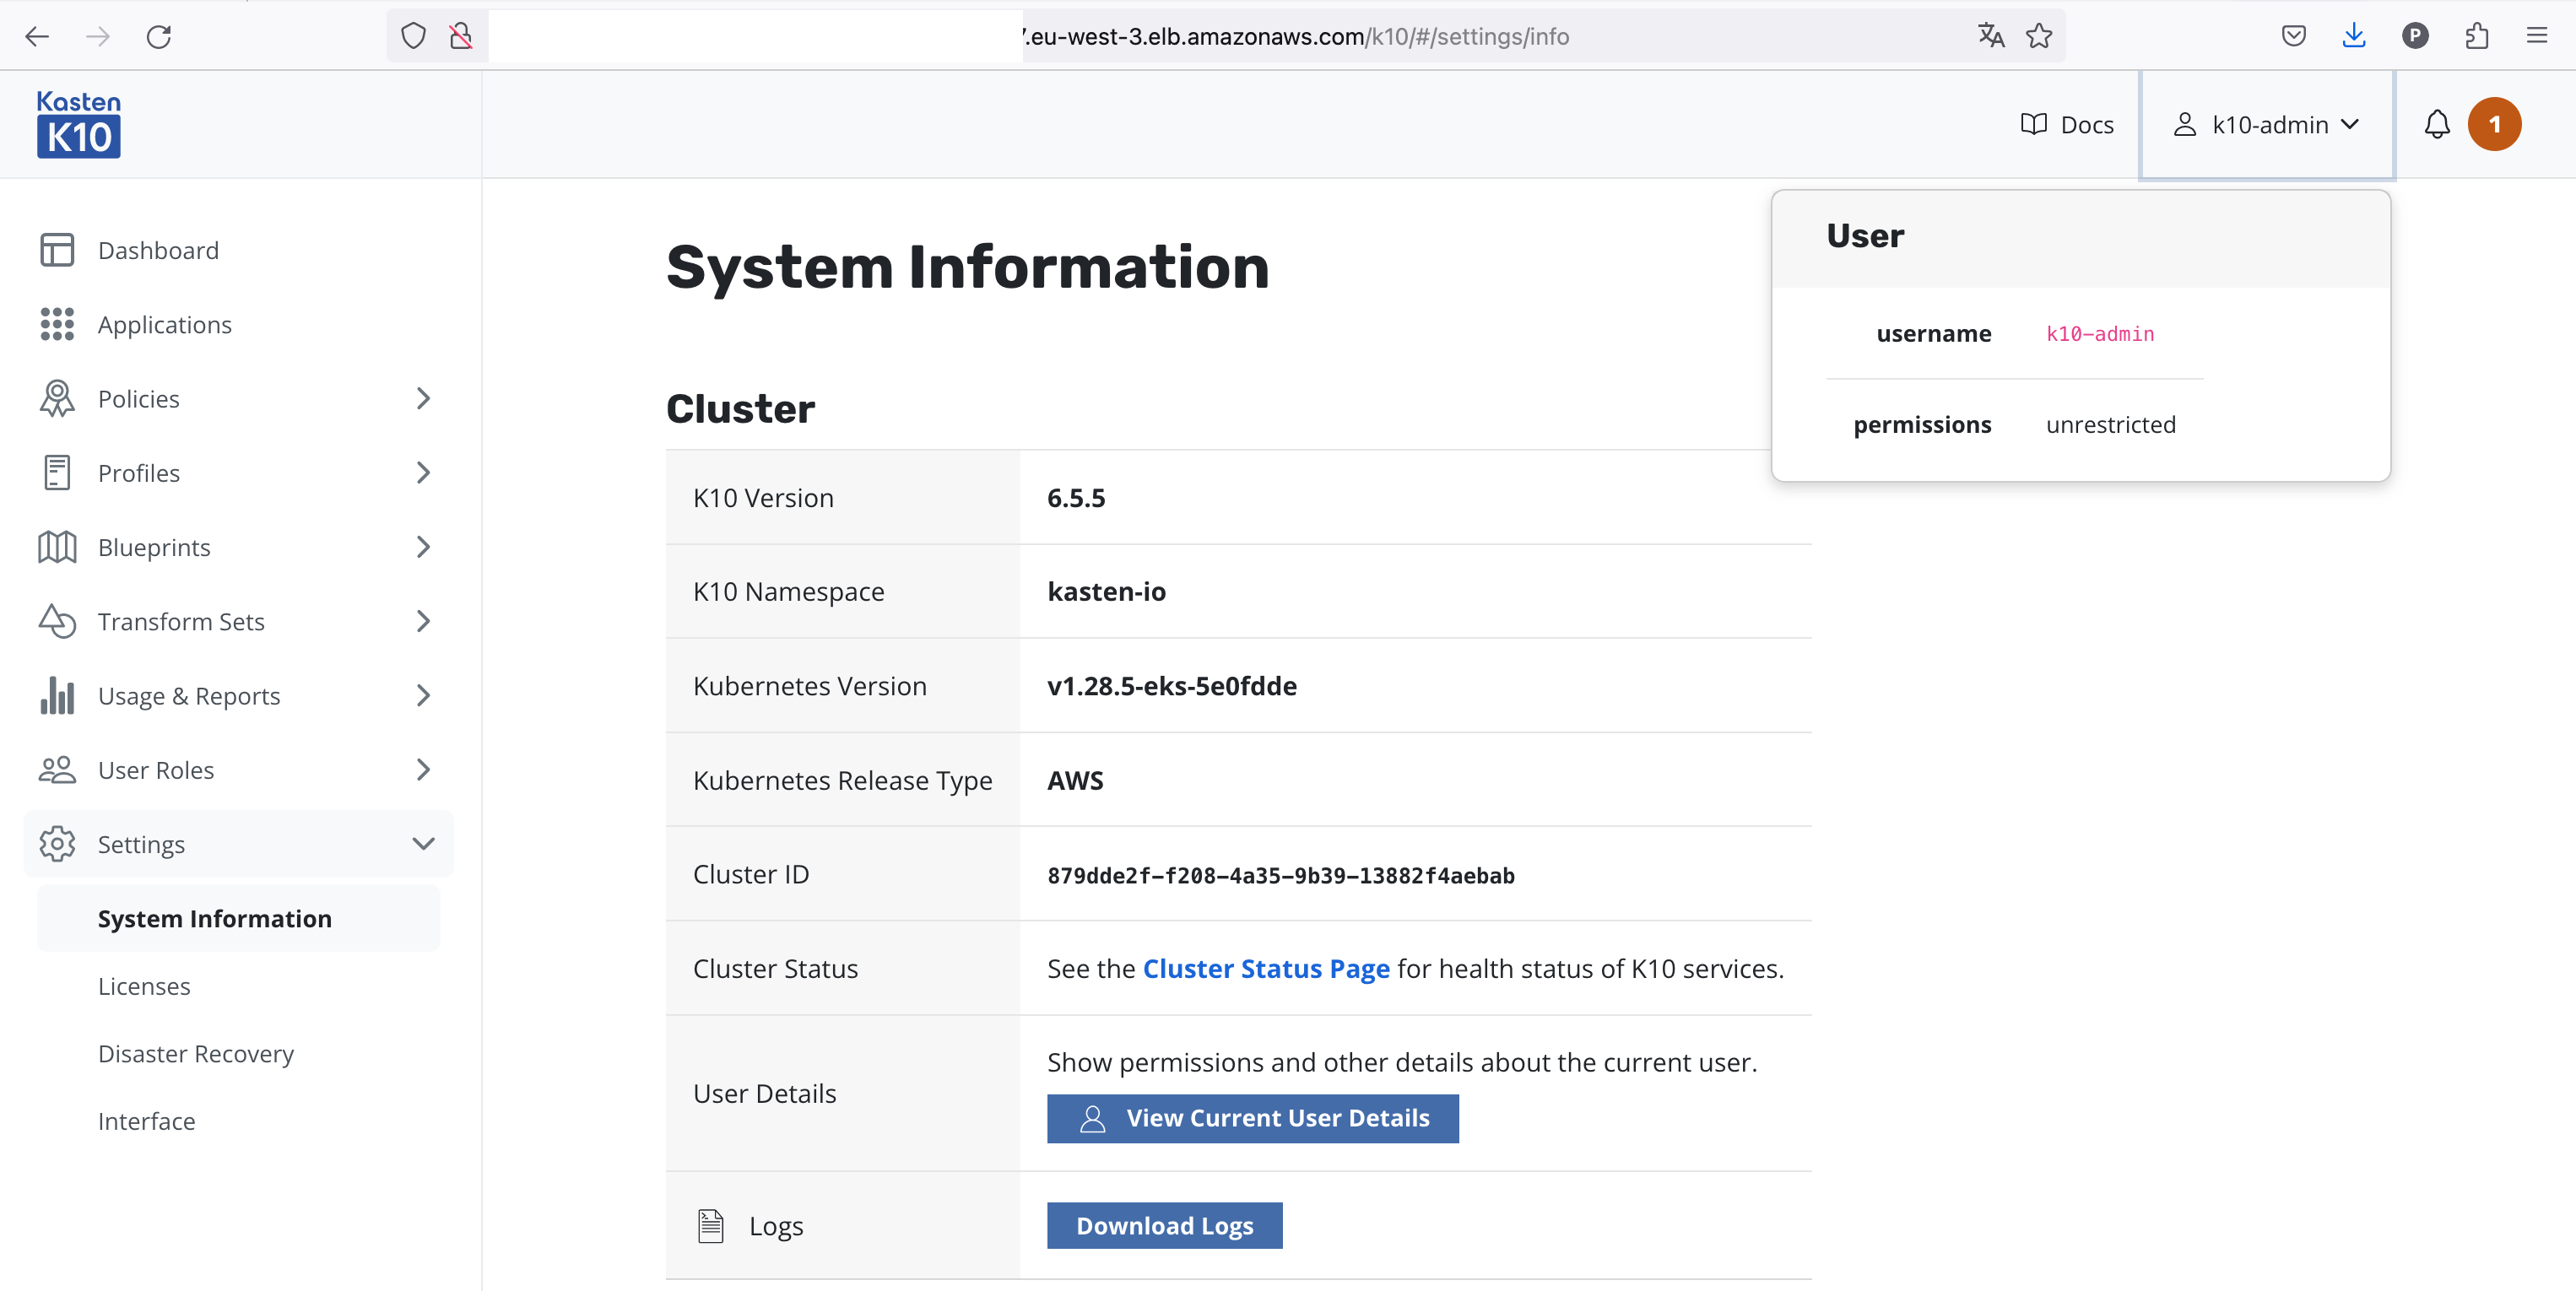
Finally we connect to Kasten K10 dashboard using a browser and the IP address got in the previous step. For authentication we use the user “admin” and the password set previously with htpasswd.

Get Social