
Hi all and welcome back! In a previous post I’ve already explained how to install Kasten on OpenShift using Helm. In this post I’ll explain how to install Kasten on OpenShift using the Kasten Operator, and then how to enable authentication using OAuth.
What we need:
Installing Kasten on OpenShift using the Kasten Operator is extremely easy, so all we need in this case is an OpenShift cluster up and running.
Installing Kasten Operator
The first step of course is to install the Kasten Operator in the OpenShift cluster. So what we need to do is, in the OpenShift dashboard, go to Operators > OperatorHub and search for Kasten.
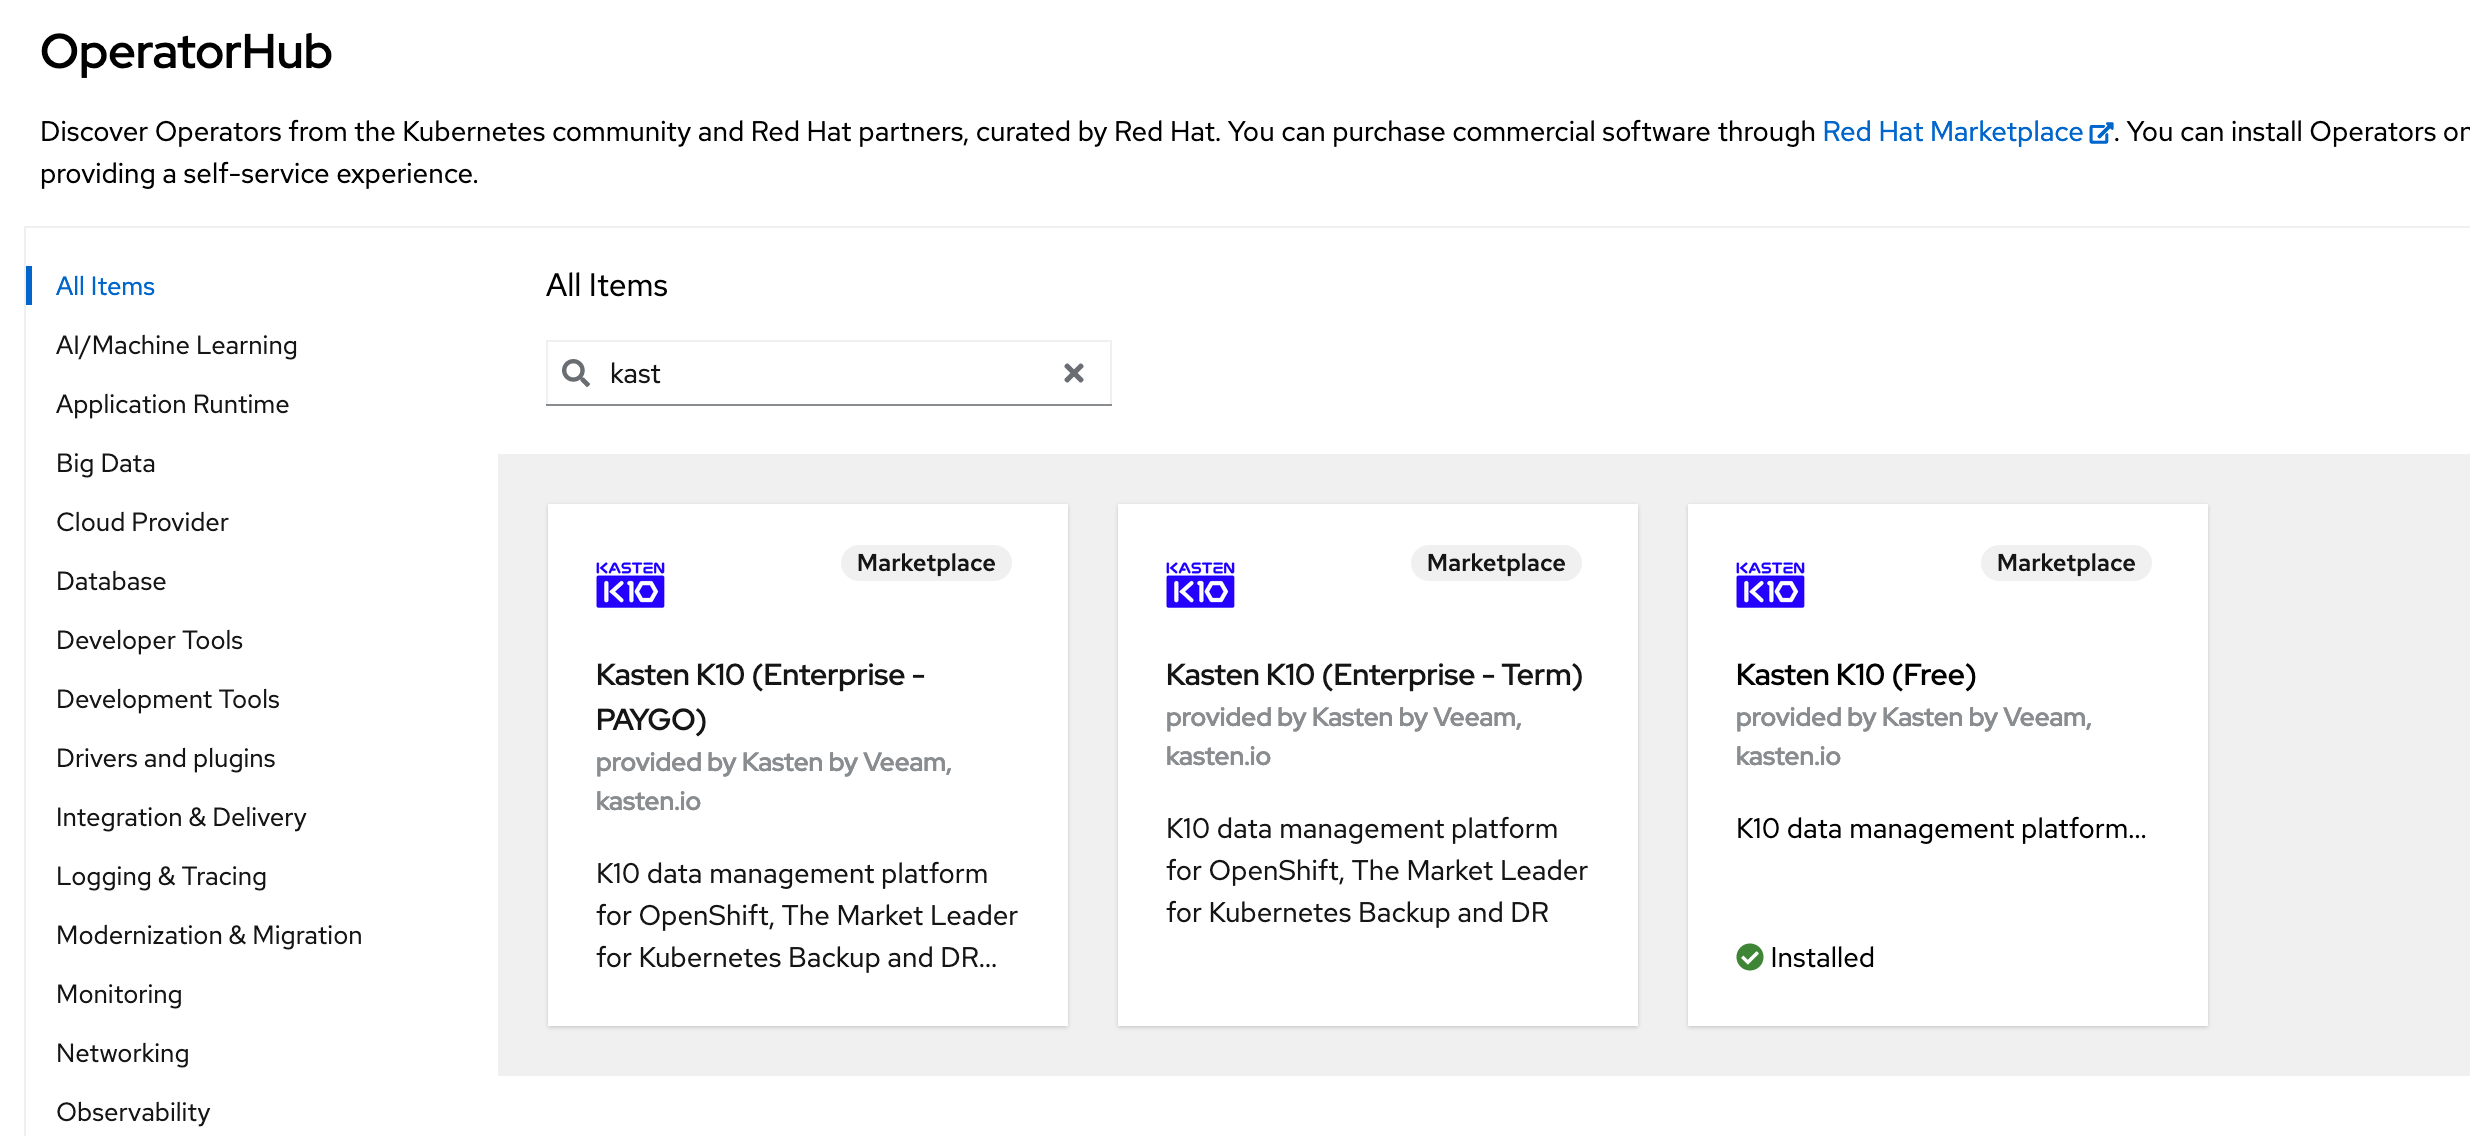
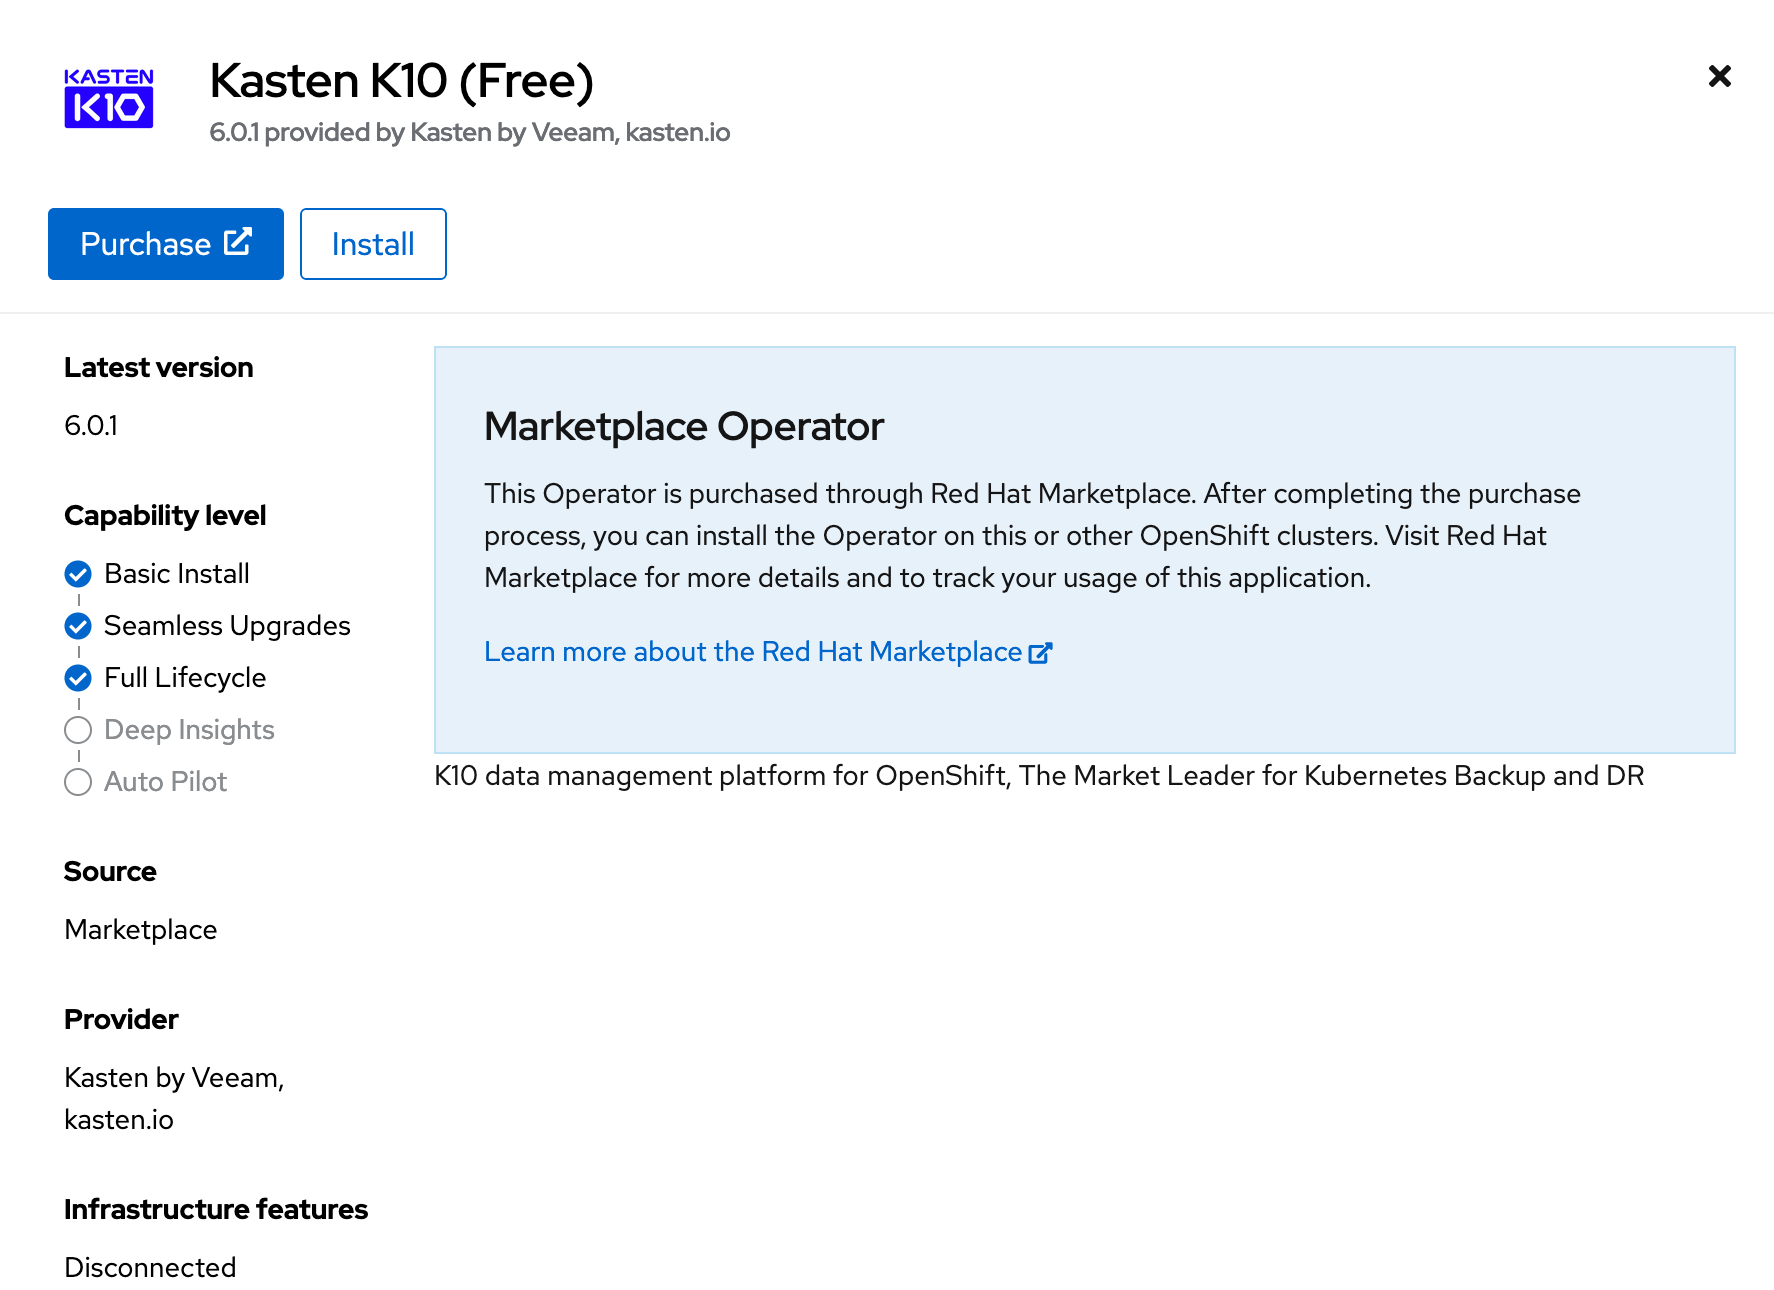
For this post I’ll use the free option, so all we need to do is click in Kasten K10 (Free). Then, in the pop-up windows you’ll get, just click in Install to install the operator.
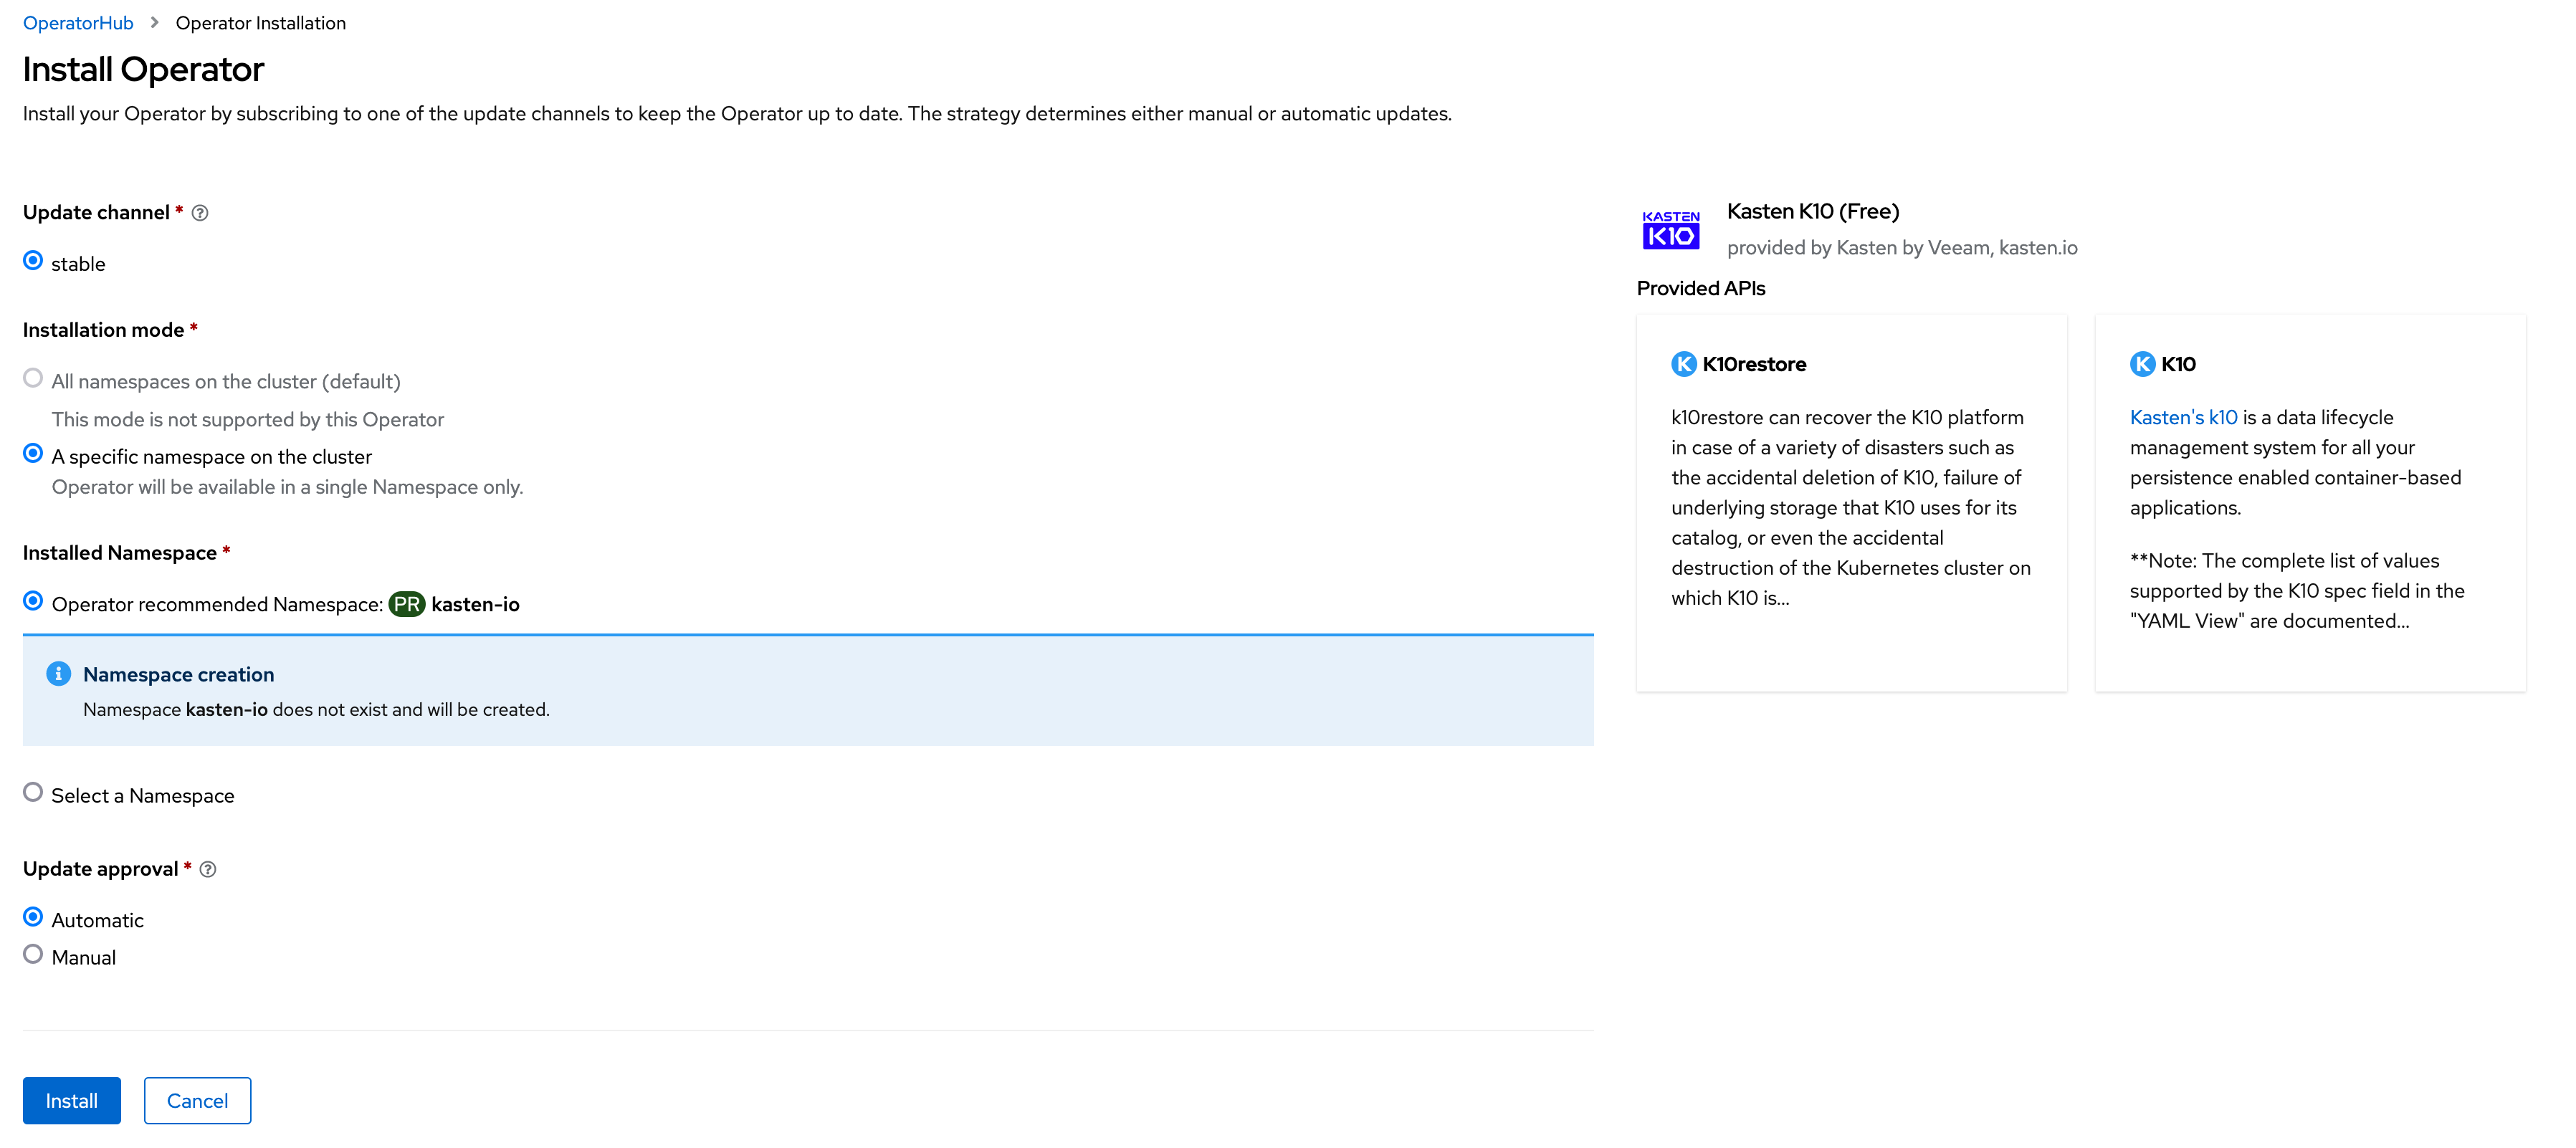
In the next step, you can choose whether to install the Kasten operator in the “kasten-io” namespace (default) or in another namespace you want to use for this purpose. Then click in Install.
Creating Service Account and Secret for OAuth
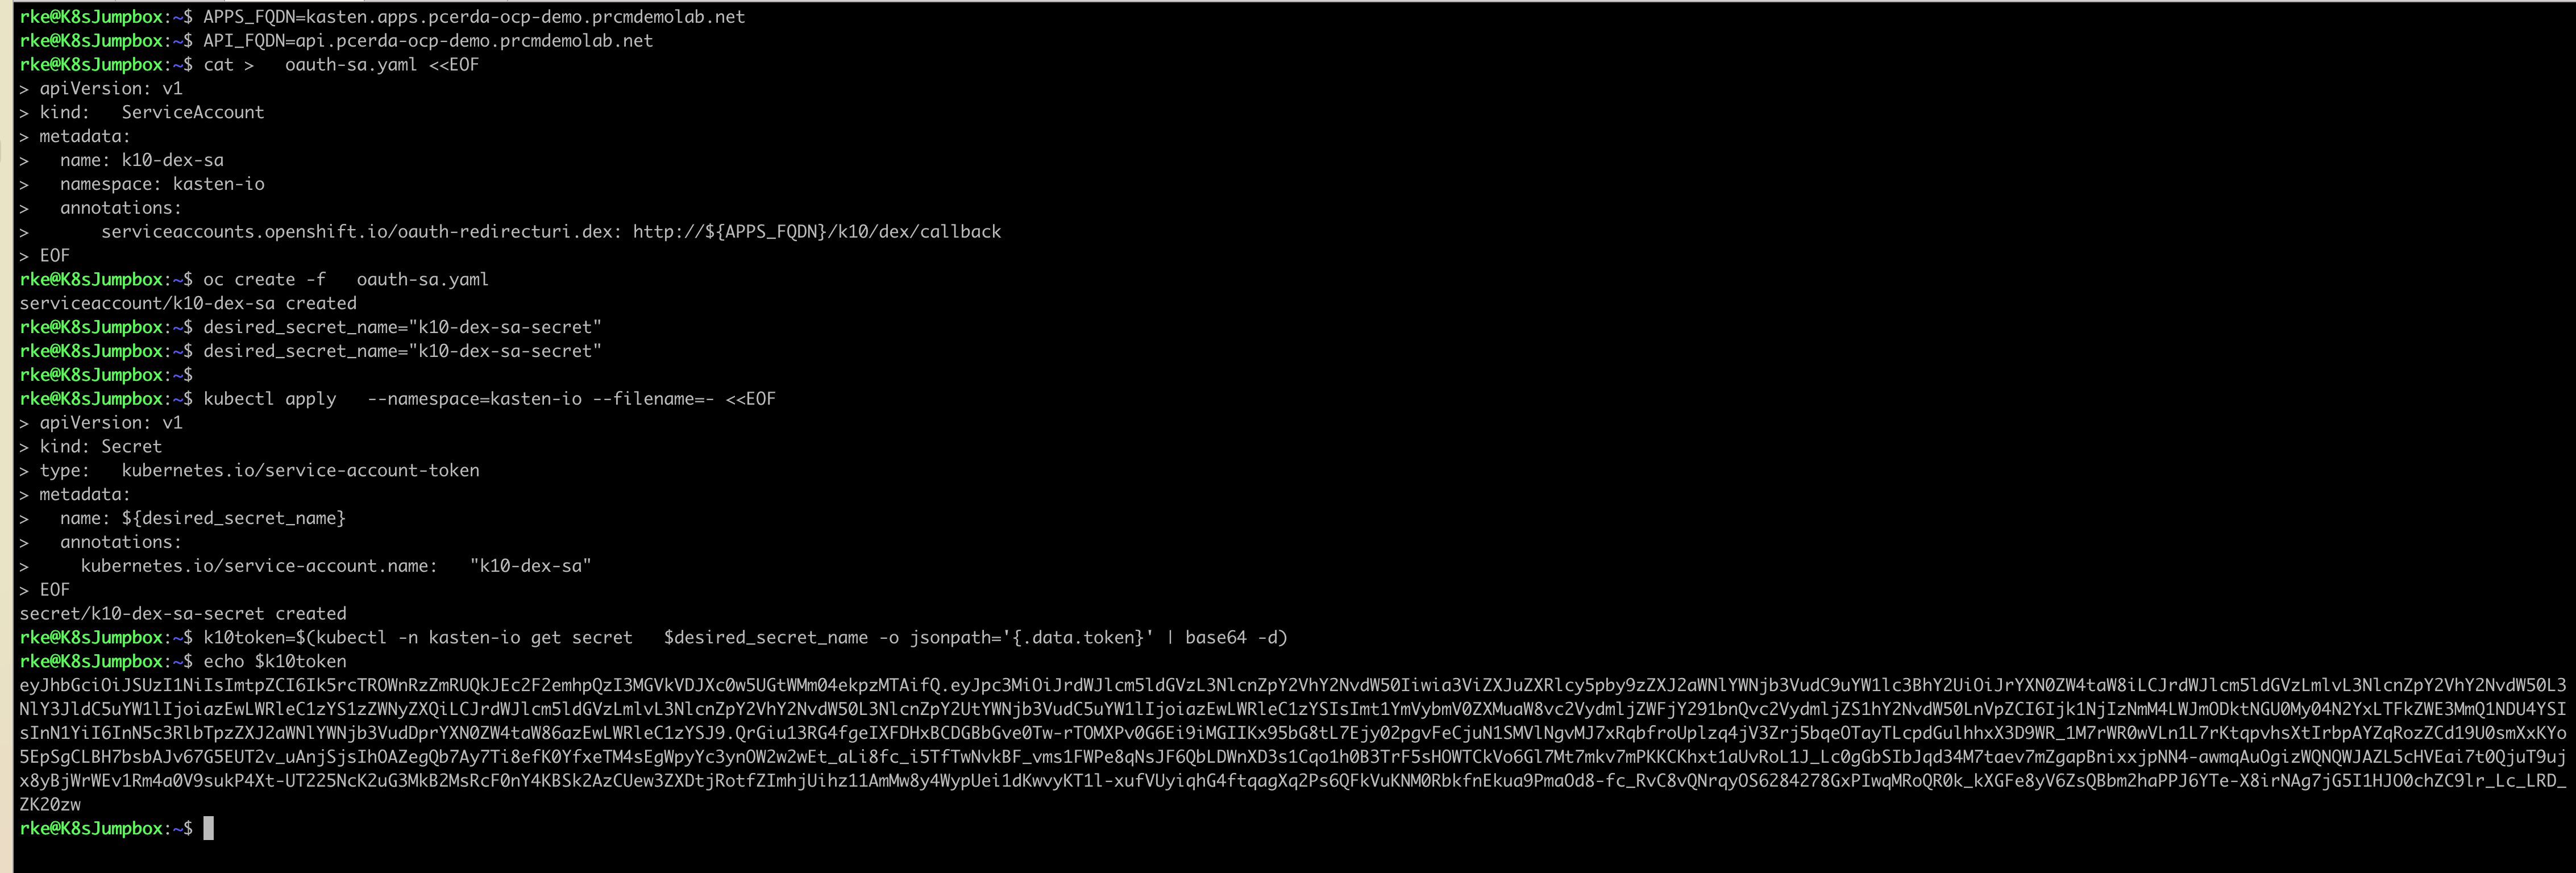
In order to configure OAuth for Kasten authentication, first we need to create a Service Account and a Secret to be used by Kasten when integrating with OpenShift OAuth. Please run the following commands:
- Configure some variables to set the Kasten FQDN and specify the OpenShift API FQDN, in my case:
- Kasten FQDN will be “kasten.apps.pcerda-ocp-demo.prcmdemolab.net”
- The OpenShift API FQDN is “api.pcerda-ocp-demo.prcmdemolab.net”
- Create a YAML file to create the Service Account called k10-dex-sa. This is the mandatory name for the SA used by Kasten for OAuth.
- Create the Service Account from the YAML file created in the previous step.
- Create the Secret for the Service Account.
- Get the Secret token.
Installing Kasten
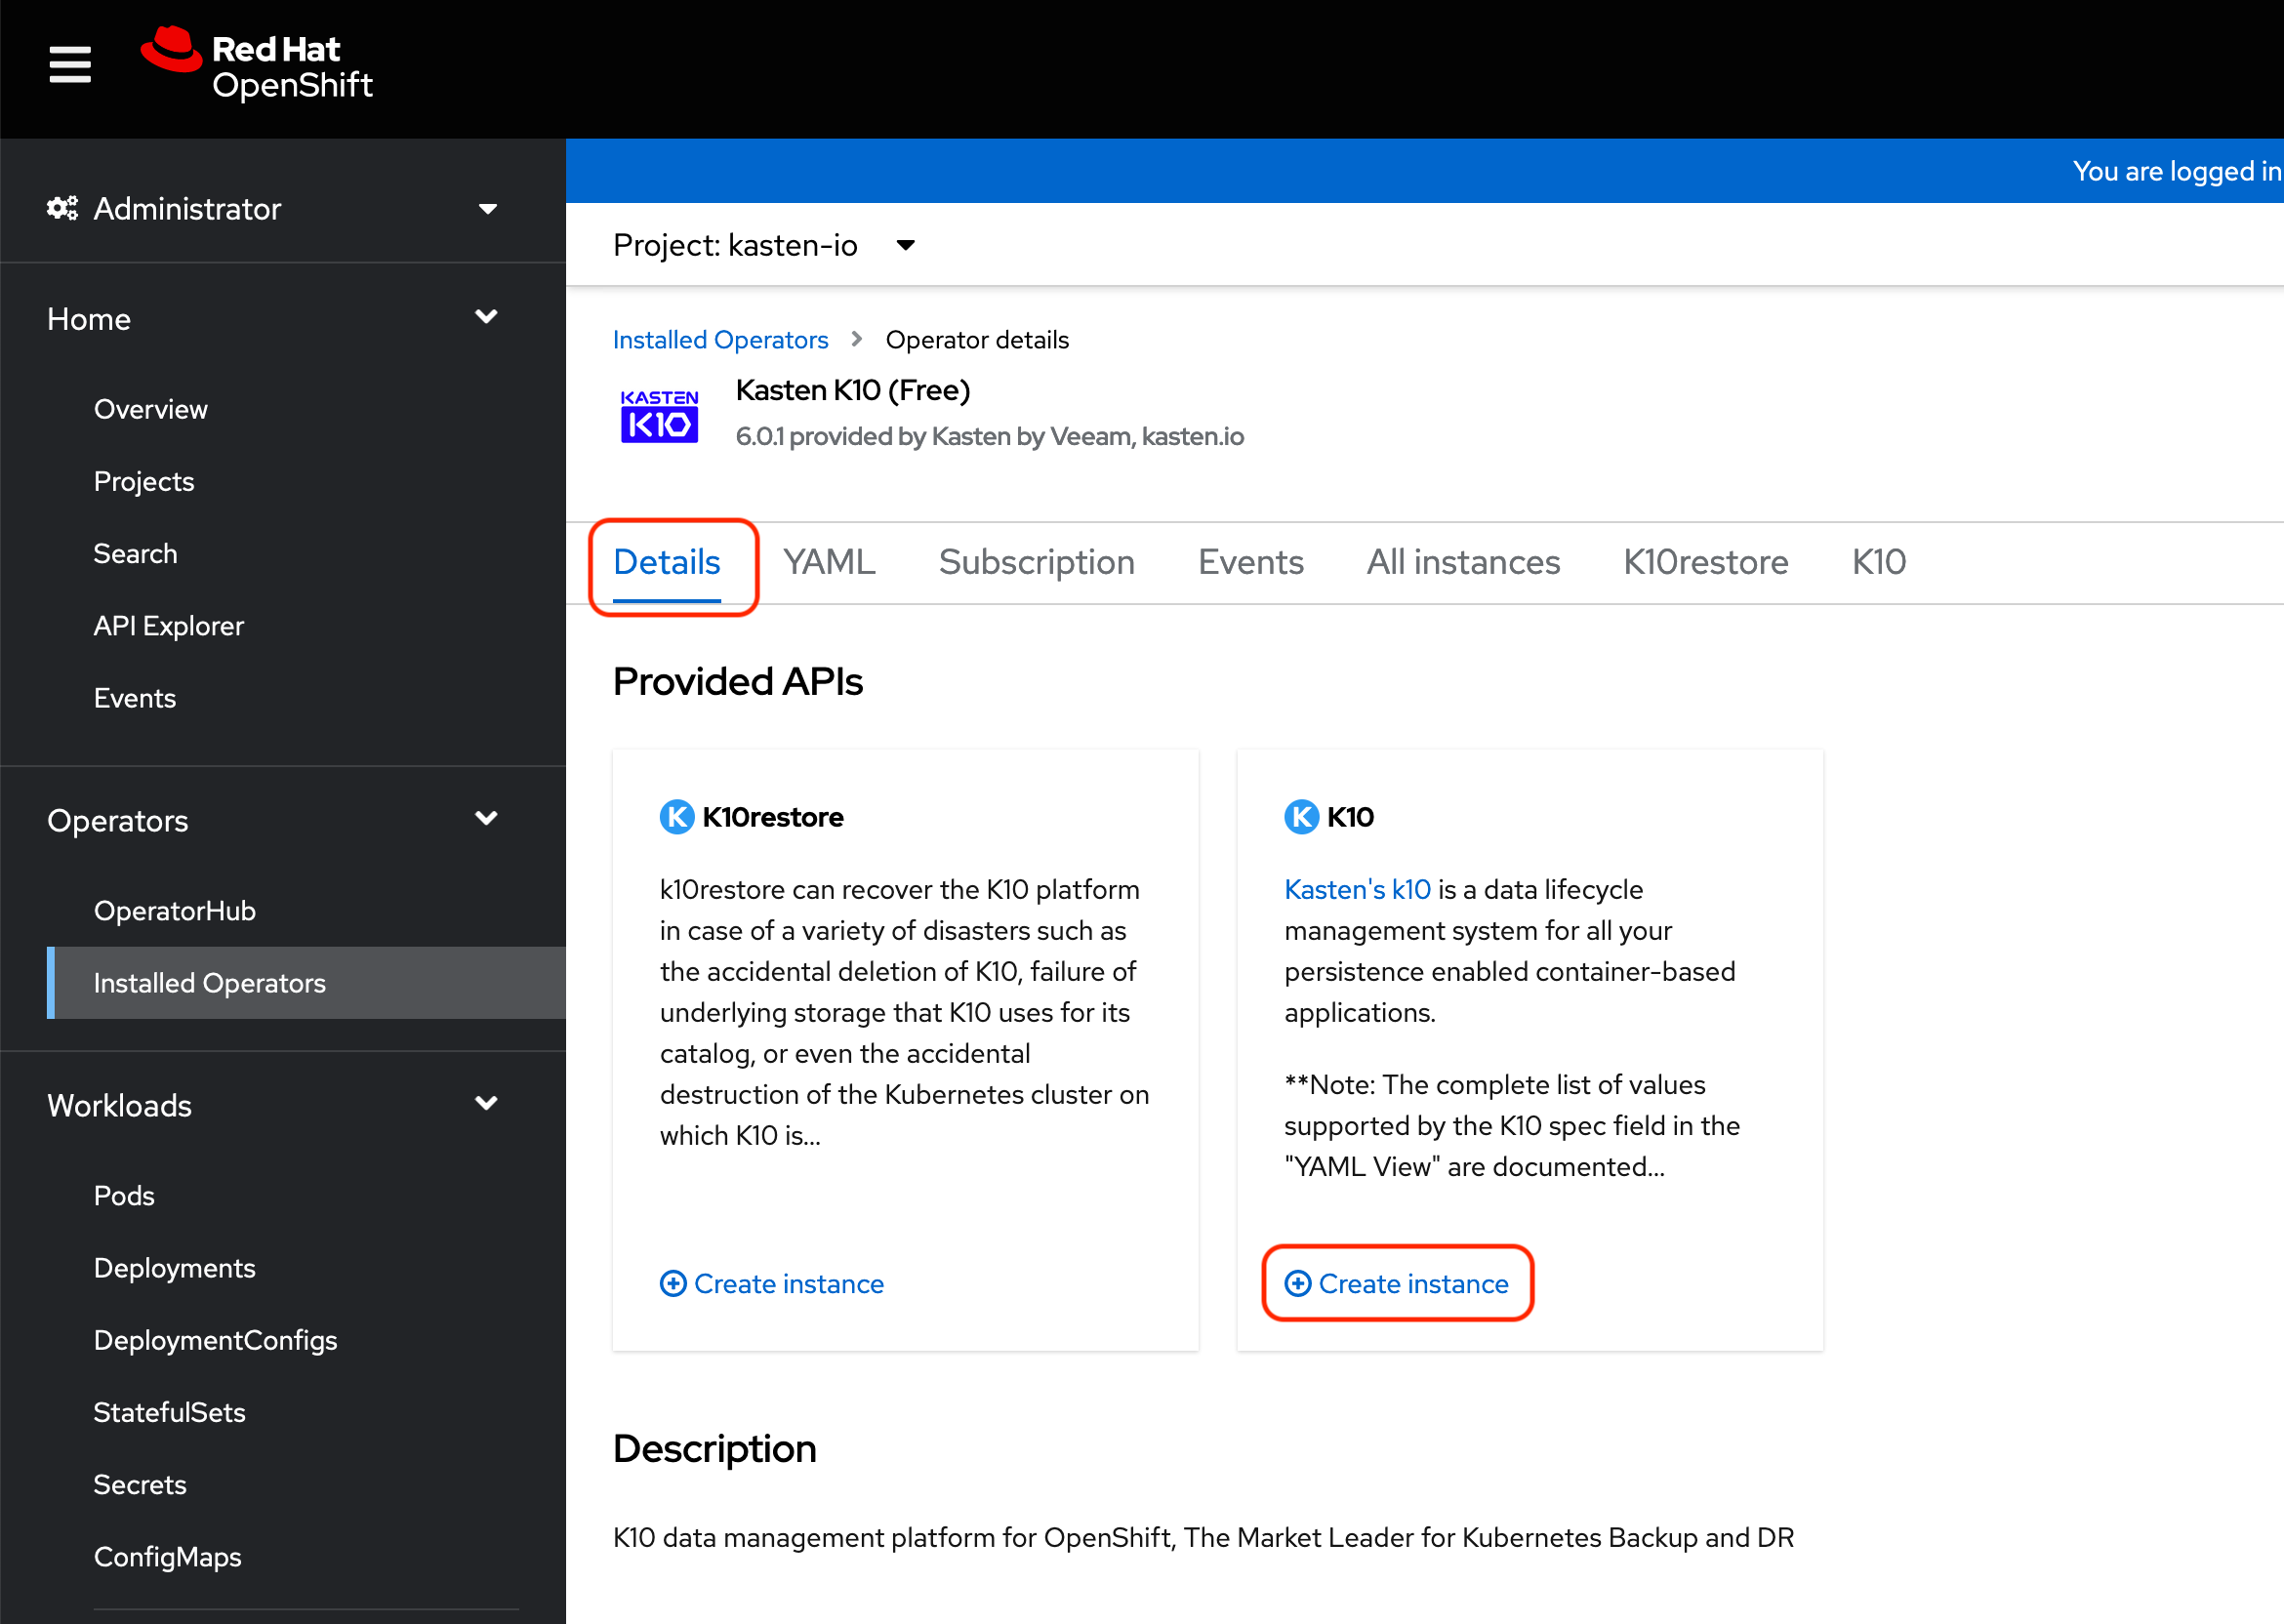
Once the operator is installed and we have created the Service Account and Secret for OAuth, the next step will be installing a Kasten instance. Go to Operators > Installed Operators. You will the Kasten Operator installed in the previous step.

Click in the operator name (Kasten K10 Free) to get access to the Operator’s options. Then, in the Details tab click in Create Instance in the K10 API.
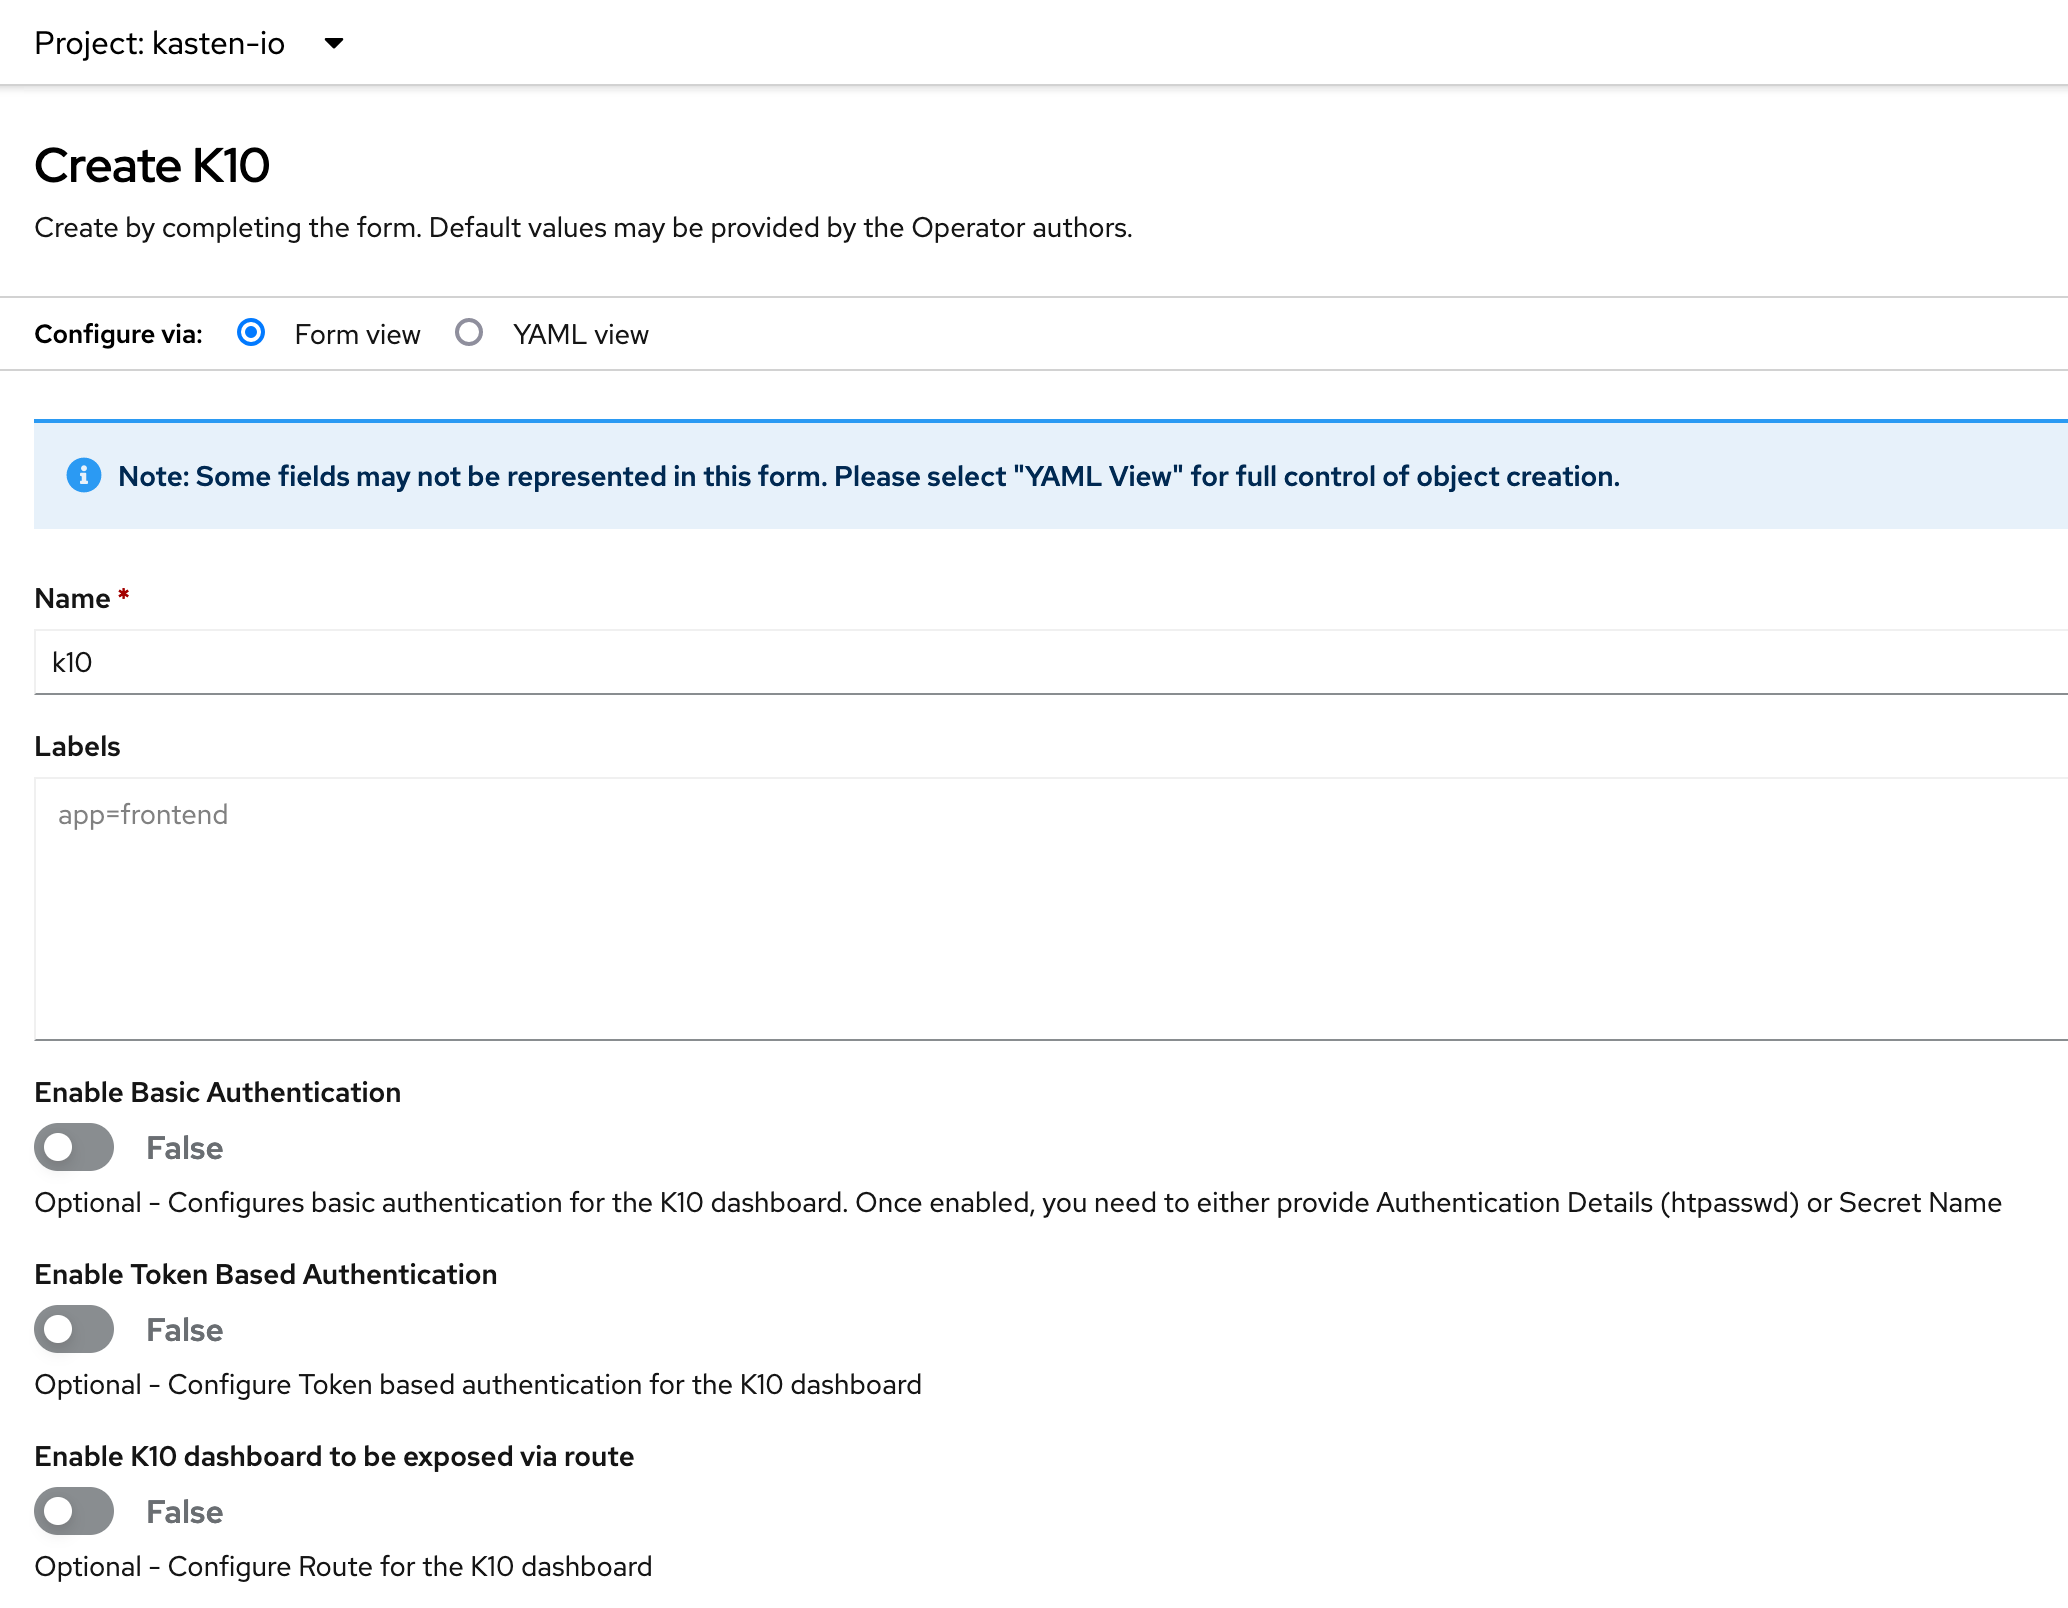
In the Create K10 window, you can:
- Specify the name of the Kasten instance, by default k10
- Set the authentication type. As you can see here, the only options you have are Basic Authentication and Token based Authentication. At this point we are not going to select any of these options.
- Enabling the Kasten Dashboard. The OpenShift route to access K10 Dashboard can be created automatically using the Operator, but the FQDN for the route will be set automatically by OpenShift. In theory, you could set in this step a custom FQDN for the route, but in all tests I’ve run the installation always fails when trying to use a custom FQDN. So at this point, I’ll not enable this option.
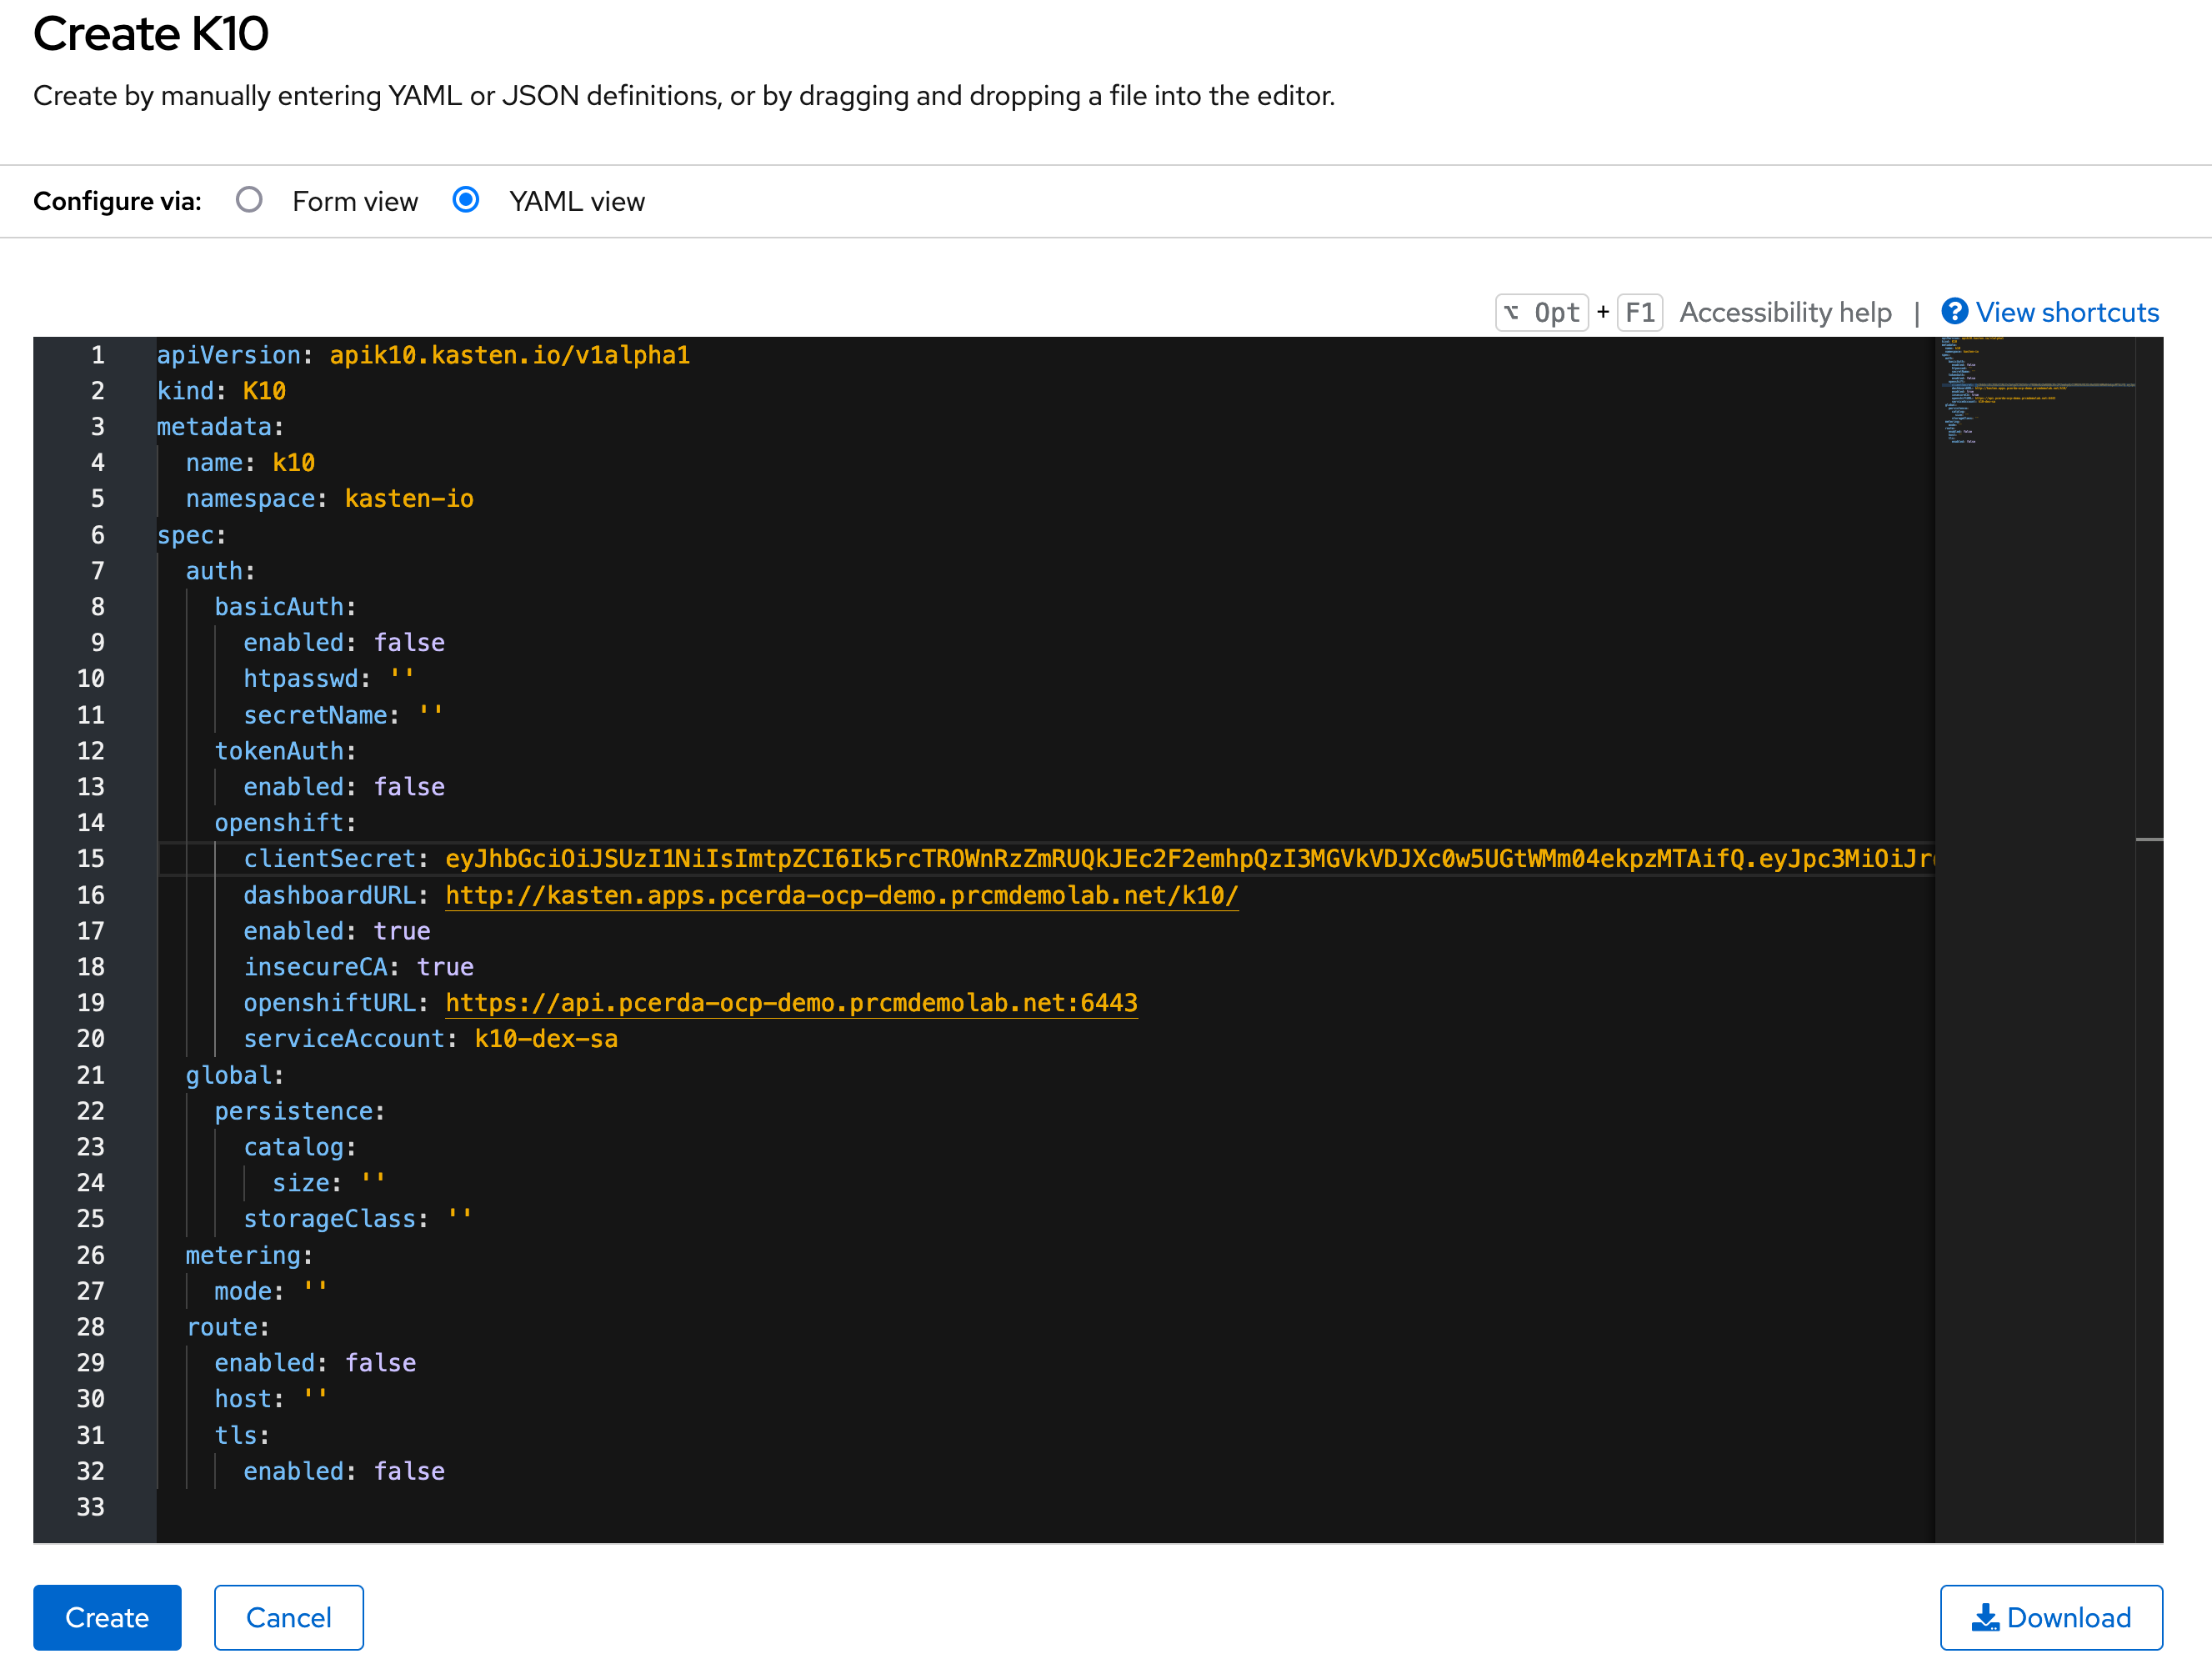
Now, click in YAML View, as you can see in the image below. You can see the basic settings to install Kasten. 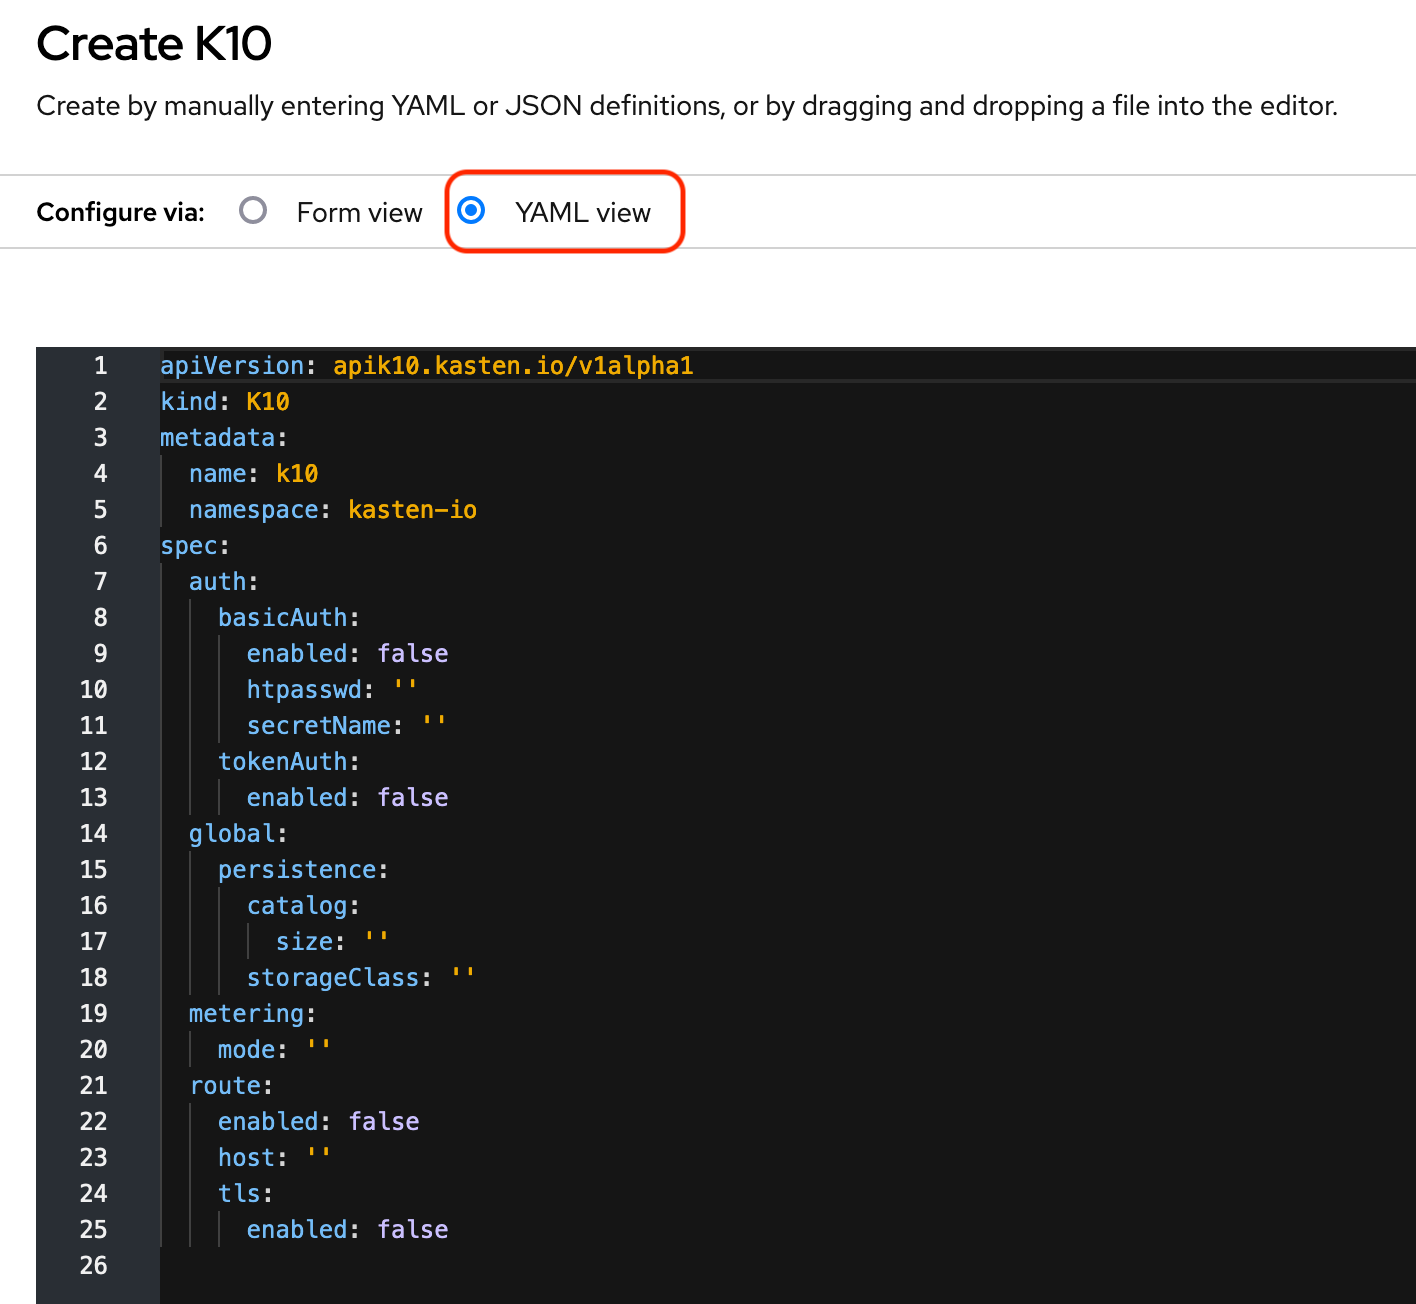
From here you can include advance settings, including OAuth, as detailed in the Kasten documentation: https://docs.kasten.io/latest/install/helm.html
In this point, we will include the following parameters in the auth section in order to enable OAuth for Kasten authentication.
- clientSecret: The token we got after Secret creation.
- dashboardURL: The URL to access Kasten dashboard.
- enabled: true to enable Openshift authentication.
- insecureCA: optional to enable or disabled the use of a valid CA certificate.
- openshiftURL: The Openshift API URL.
- serviceAccount: The name of the service account created in the previous section. For Kasten, the service account name must be k10-dex-sa.
The YAML file should look similar to the one in the picture bellow:
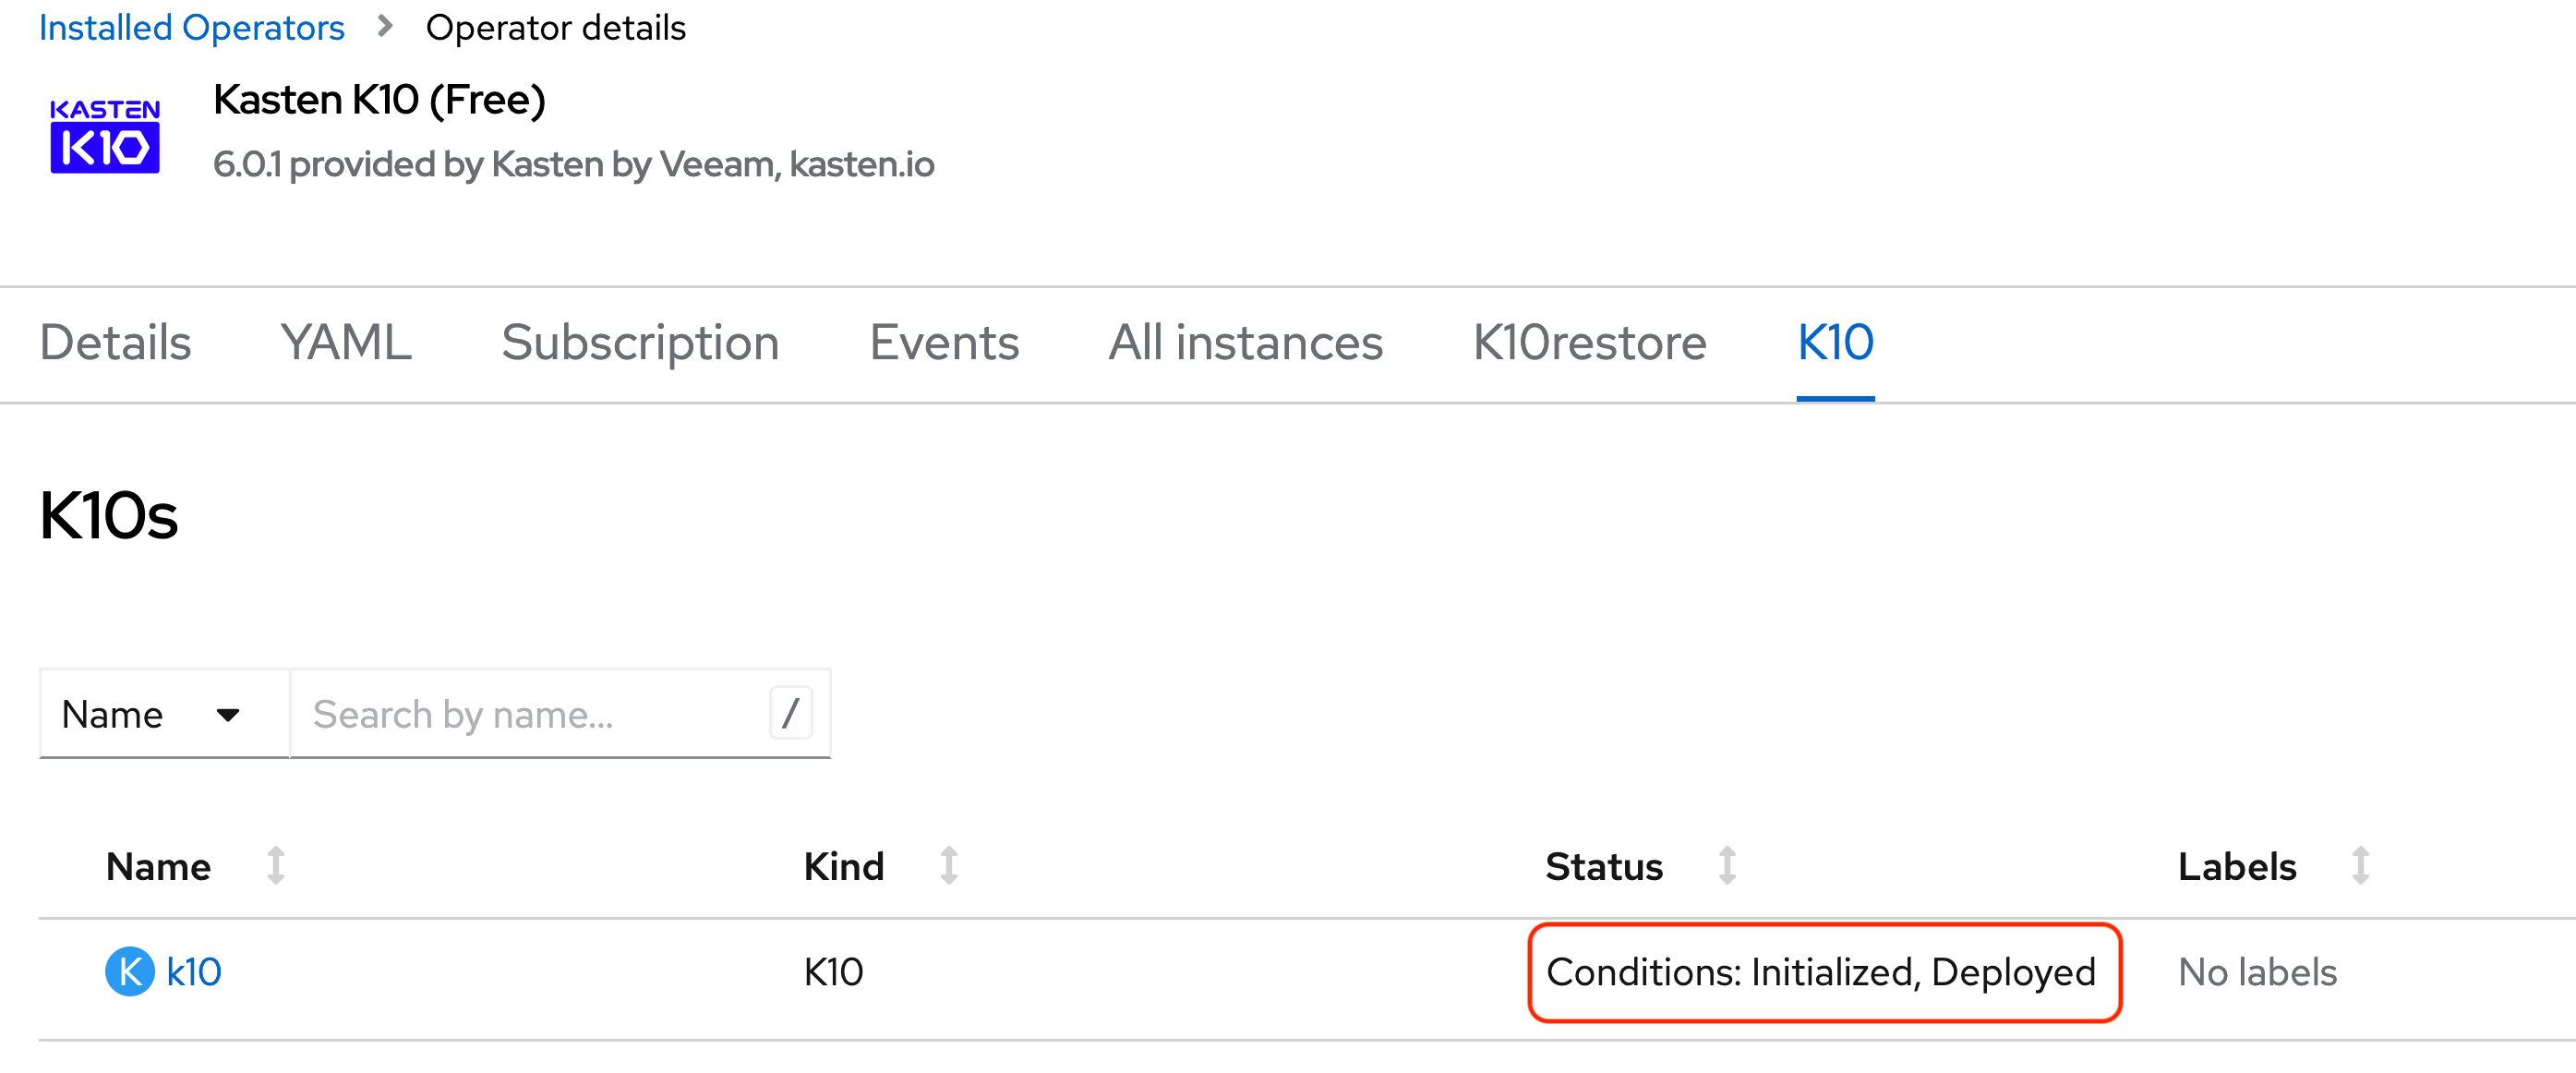
Click in Create to start Kasten installation. Then, make sure the K10 instance status is “initialized, Deployed” as you can see in the following picture:
Creating OpenShift Route
We already have Kasten up and running in our OpenShift cluster. The last step now, is to have Kasten accesible via dashboard, so we need to create the proper Route in OpenShift. So, we go to Networking > Routes in the OpenShift dashboard.
- We make sure we are using in the kasten-io project.
- Click in “Create Route“
- Next we use the following setting:
- Name: Route name
- Hostname: Kasten FQDN. This must match with the dashboardURL that we have set in the configuration during Kasten installation.
- Path: Must be “/k10/”
- Service: Select “gateway”
- Target Port: Select 8000 -> 8000
- Finally click on Create to create the Route.

- Once the Route is created you should see something like this:
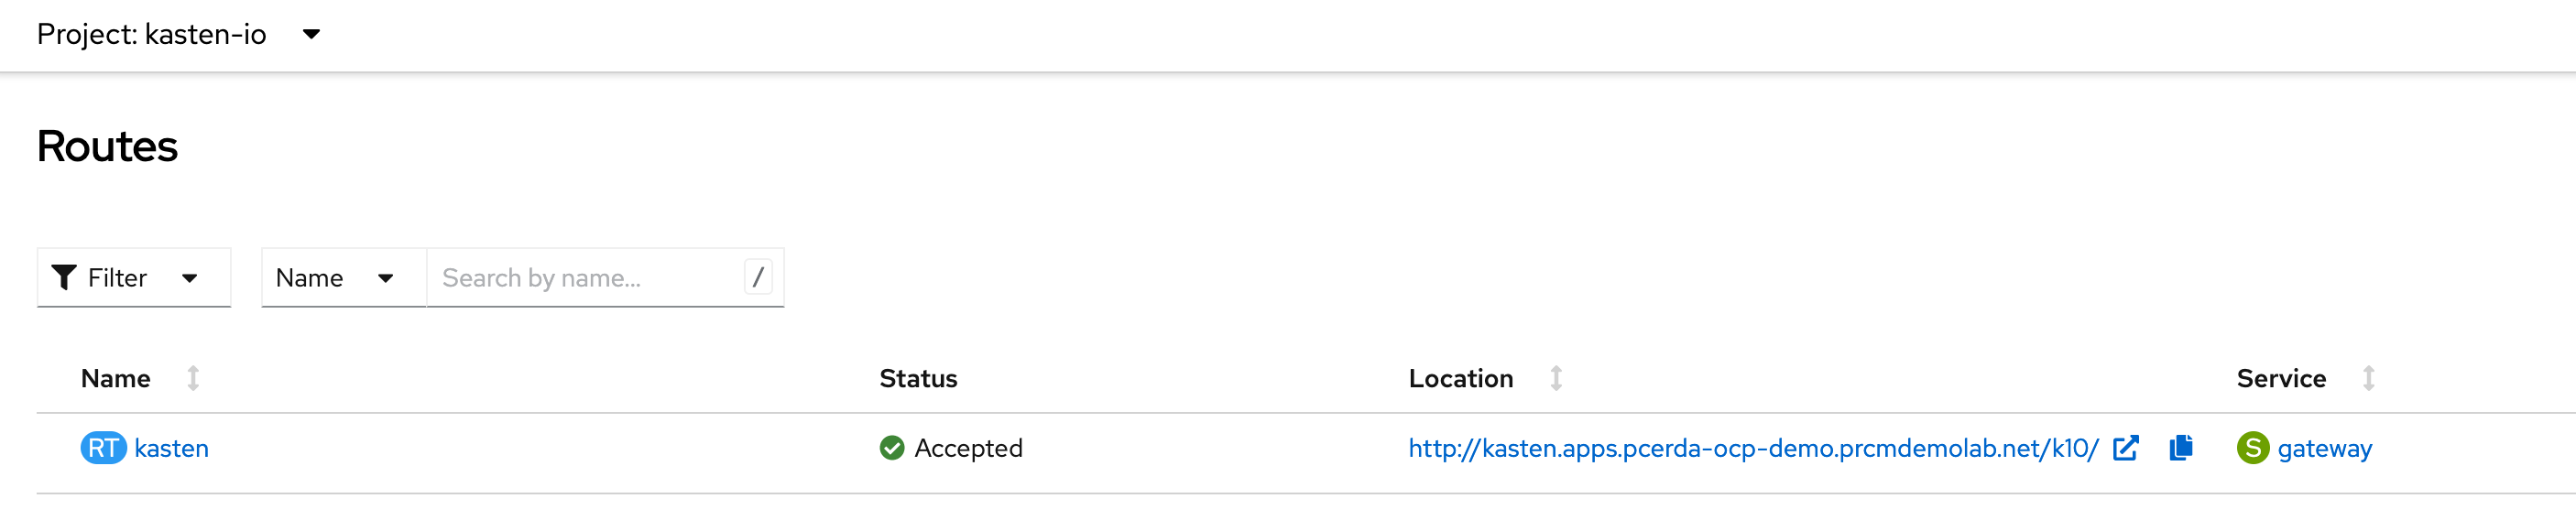
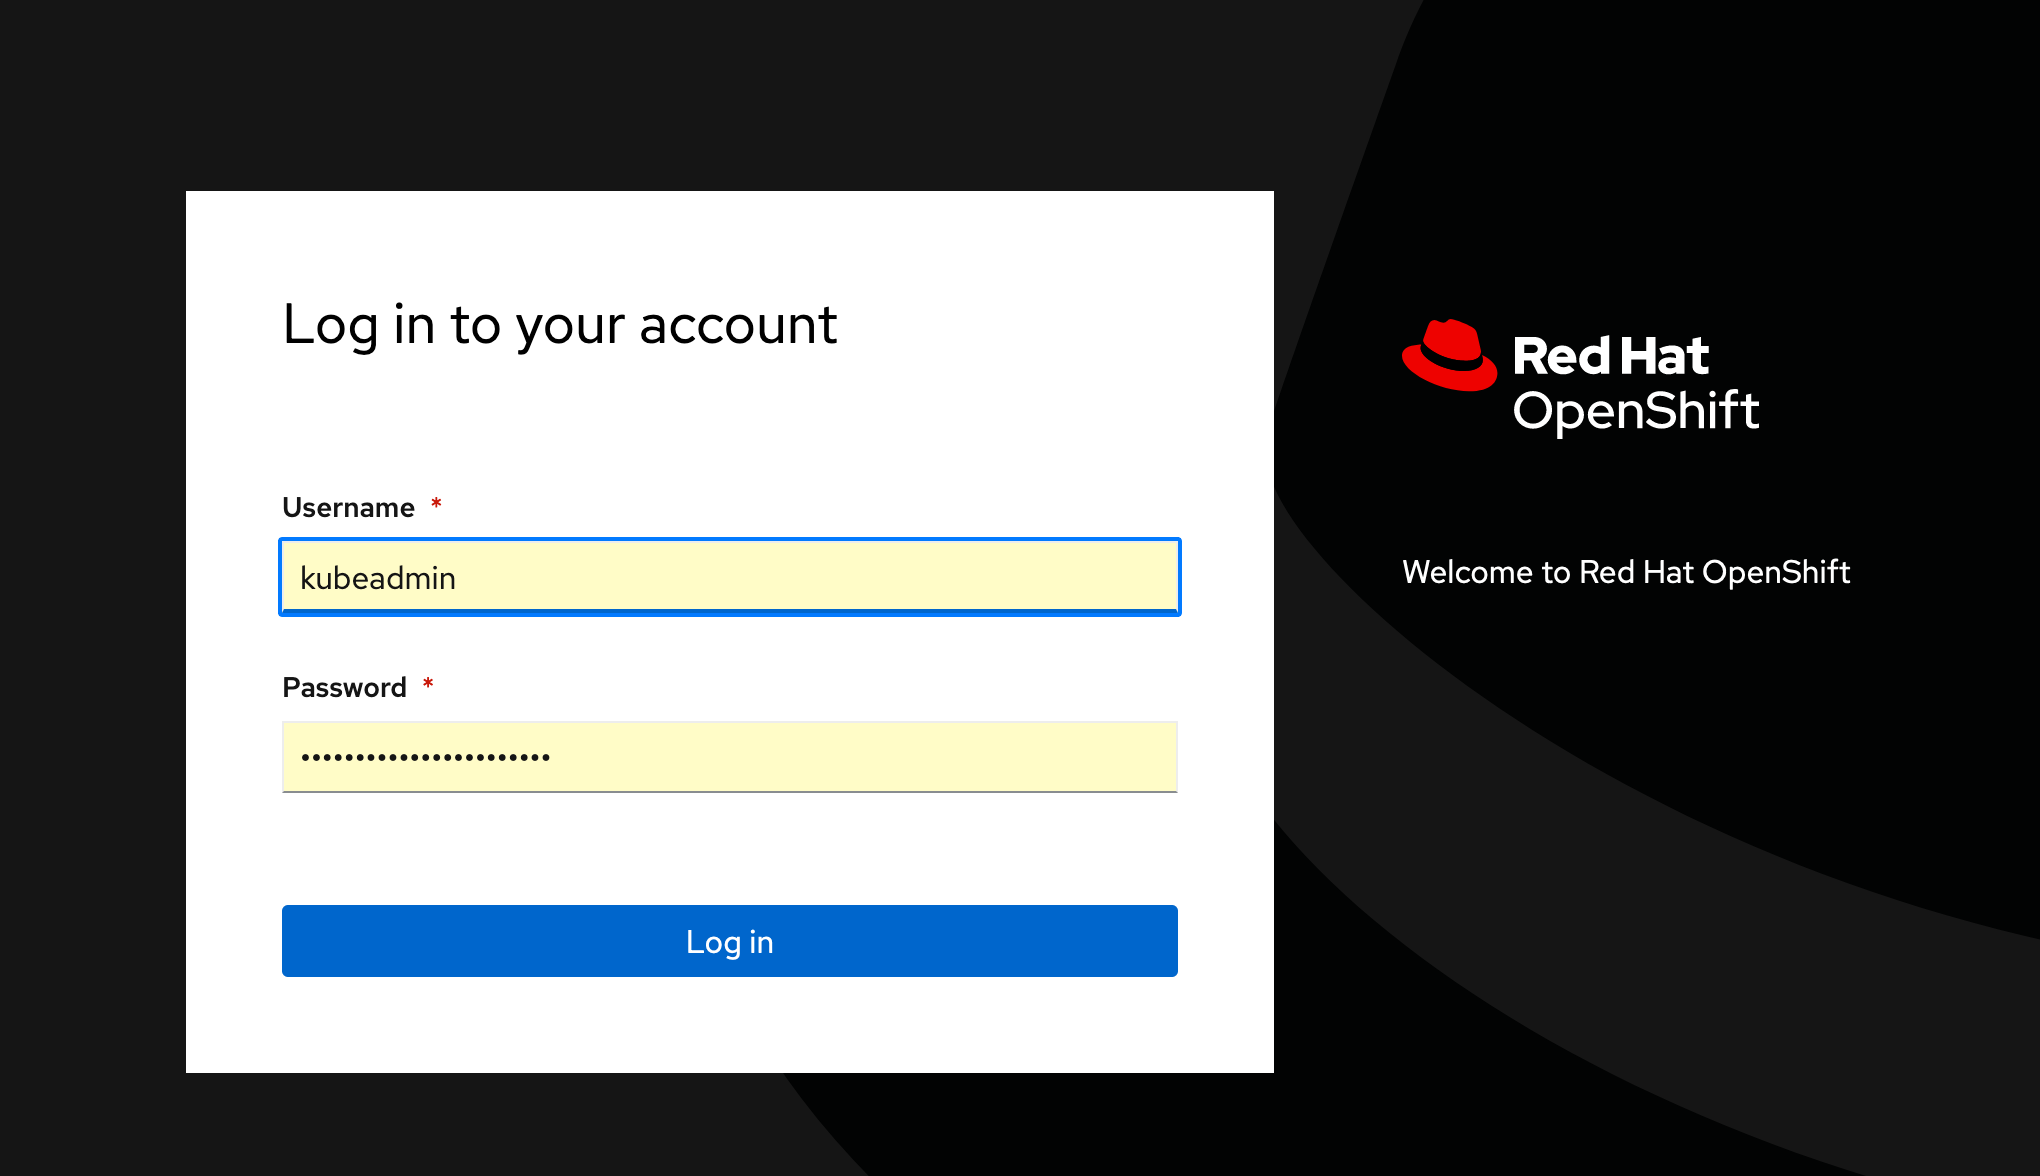
- Click in the URL to access Kasten dashboard. The first thing you will see, it’s the OpenShift authentication page, where we should provide proper credentials with privileges to access Kasten. In my case, the OpenShift cluster isn’t integrated yet with any OIDC provider, so the only available user is kubeadmin:
- Once the authentication is complete, you can start using Kasten:
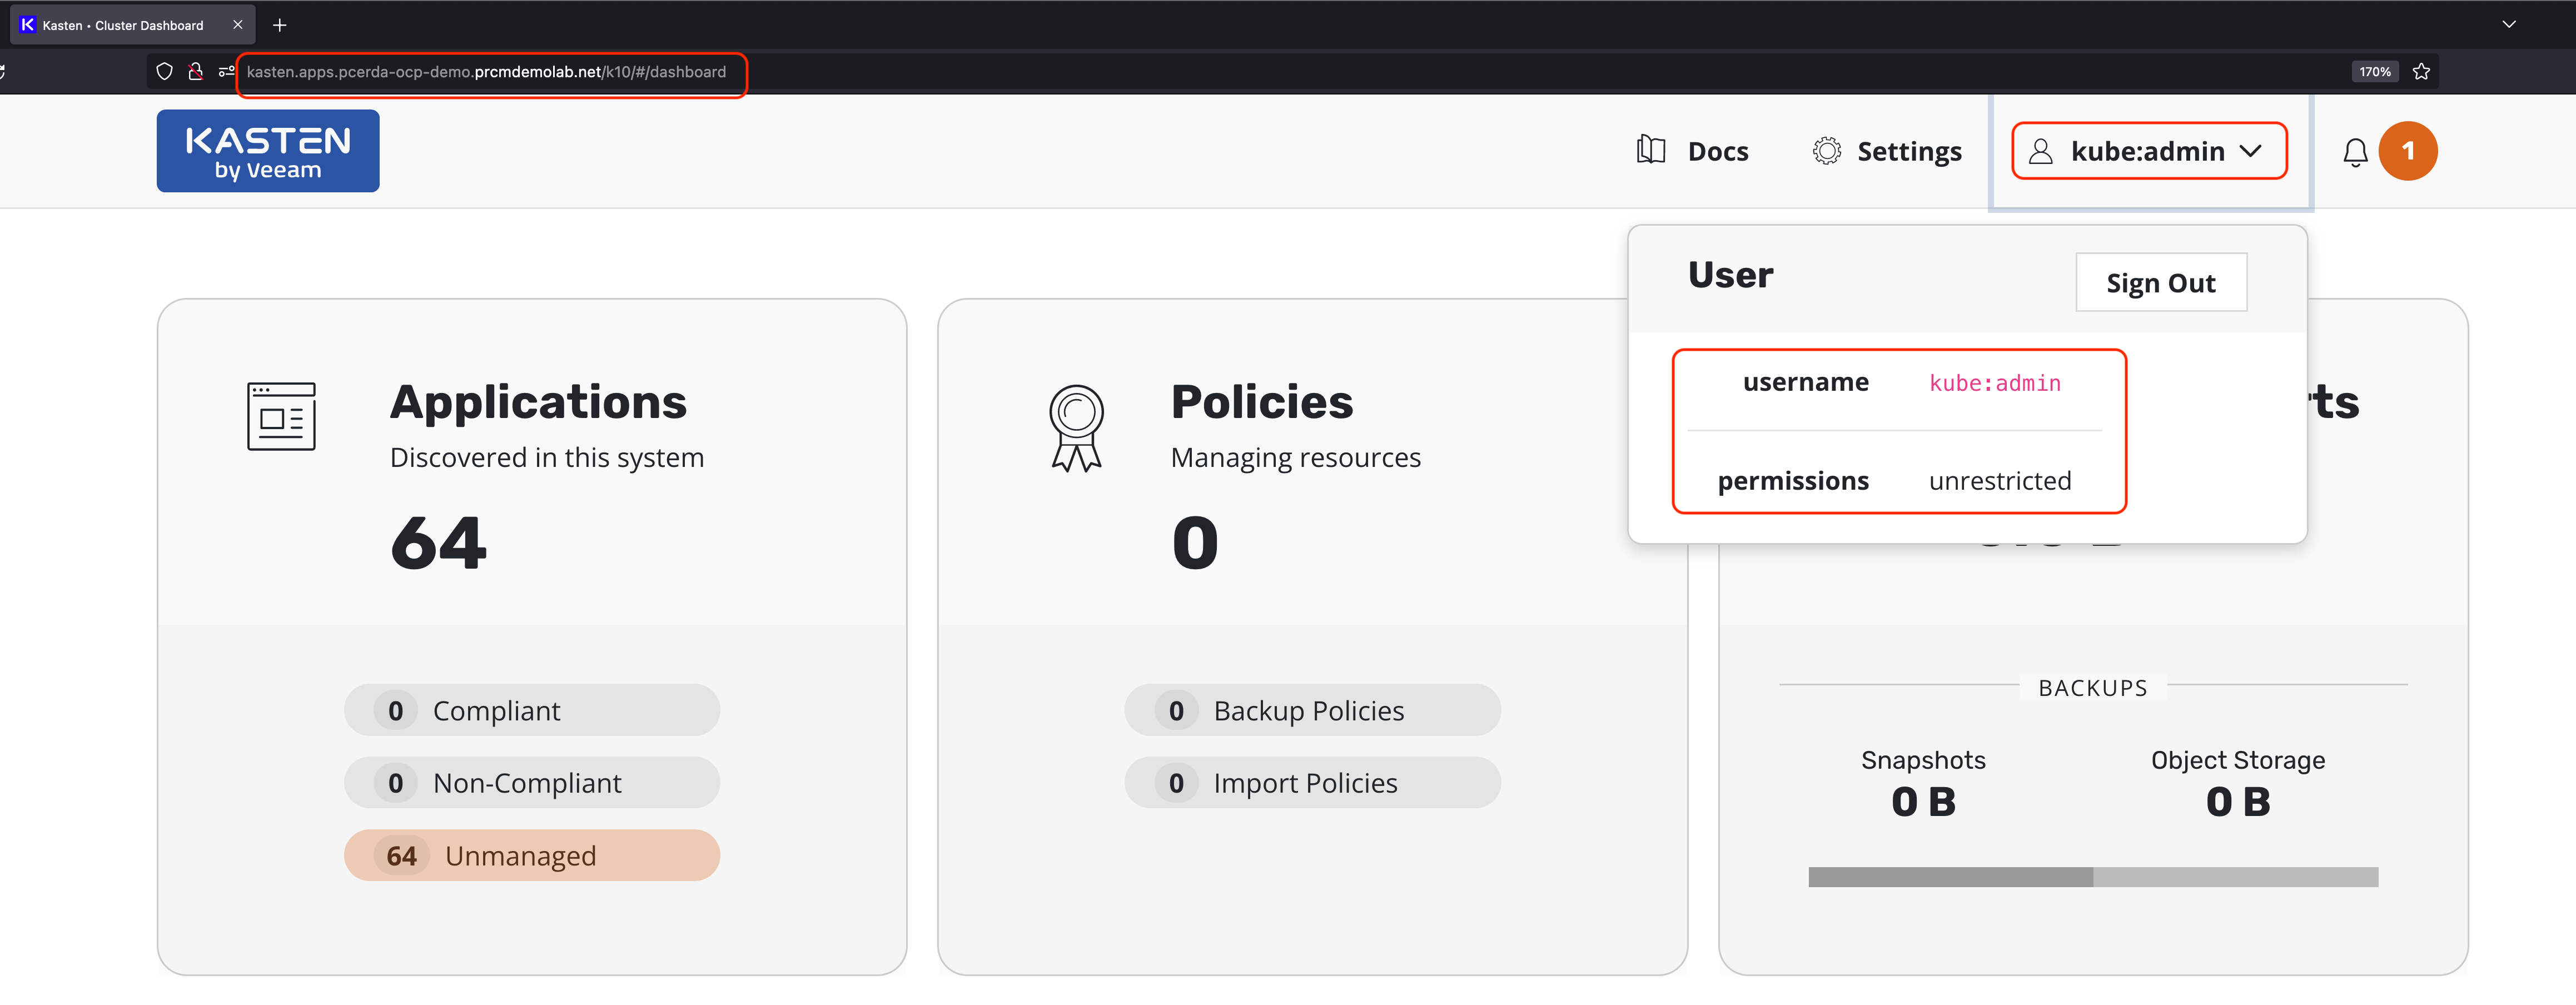
As you can see, Kasten installation using Operators in OpenShift is quite easy, and also is very simple to include OAuth integration for Kasten authentication.

Get Social